Blood Harvest Anne co-op: woods, the tunnel, and the cornfield
Trail spread, tunnel spawns from both ends, the bridge event, and the farmhouse at 85% flow.
Learn the pace before the route
At a normal Anne co-op pace, you cover roughly 3% to 5% of the flow between waves. Treat a chapter as 100%: door to saferoom costs 20 to 30 waves.
Each chapter below is split by flow percentage. To see the spawns for a stretch, click the link at the end of that chapter. The visualizer loads the map and places the whole team at that progress.
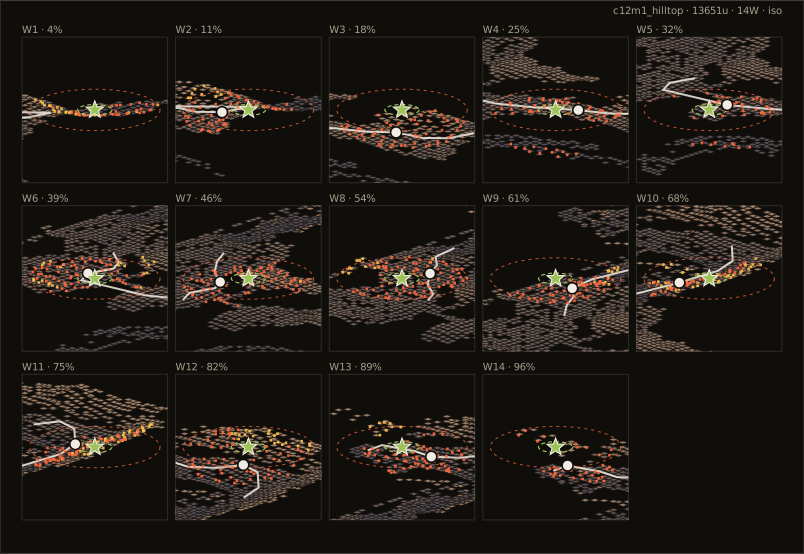
c12m1 Woods: the bends quietly stretch your spread
The trail bends constantly and the trees chop sight lines into short segments, so spread slips past 1500 without anyone noticing. Walk the same path and wait for the back at every bend. Rocks on the slopes are Hunter high ground; listen for the shriek on open stretches.
- Hold spots
- Clear waves on the inside of bends with rock at your back, and wait for the rear at every turn.
- Segment plan
- First 40% (~6 waves): winding forest road, wait for the rear at every bend. Middle (~5 waves): the campsite area at 50–70% grows denser with spots on the rock slopes. Last 30% (~5 waves): density keeps climbing through 70–90%, regroup before the saferoom.
Open this chapter in the spawn visualizer
Explore this chapter interactively: drag survivors, scrub progress, and spawn waves in the live simulator
c12m2 Tunnel: it comes from both ends
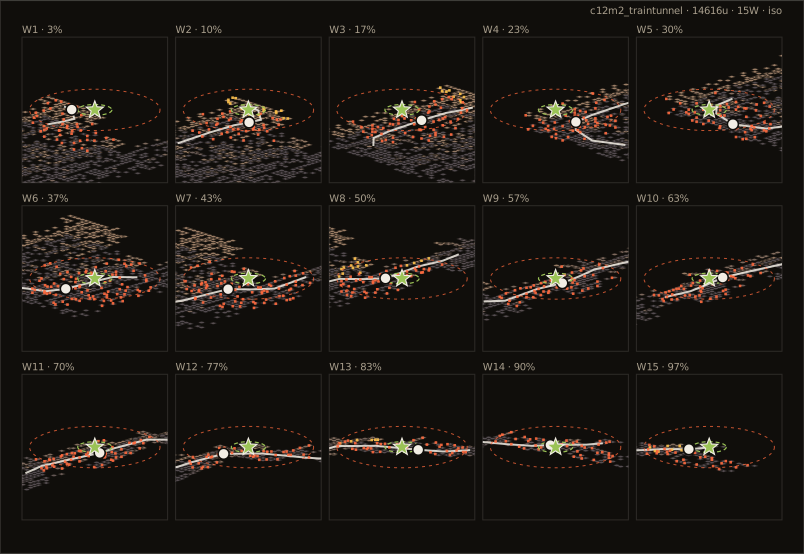
The train tunnel is the textbook lengthwise spawn: ahead and behind at once, and the rear job is heavier than the lead. Tighten spacing. On a down, everyone stops.
When the mid-chapter alarm door goes off, the waves come back to back. Top off health and ammo before the door, and do not stop in the stairwell after it.
- Hold spots
- Clear waves in the side rooms and maintenance alcoves, never stopping in the main tunnel; finish the alarm run first, then clean up.
- Segment plan
- Opening (~6 waves): high points spike above the tunnel mouth at 10–30% — clear the slope before entering. Middle (~6 waves): even density inside the tunnel, keep spacing tight. Alarm (~6 waves): once the security door rings, run it in one go and clean up past the stairwell.
Open this chapter in the spawn visualizer
Explore this chapter interactively: drag survivors, scrub progress, and spawn waves in the live simulator
c12m3 Bridge: hold both ends after the button
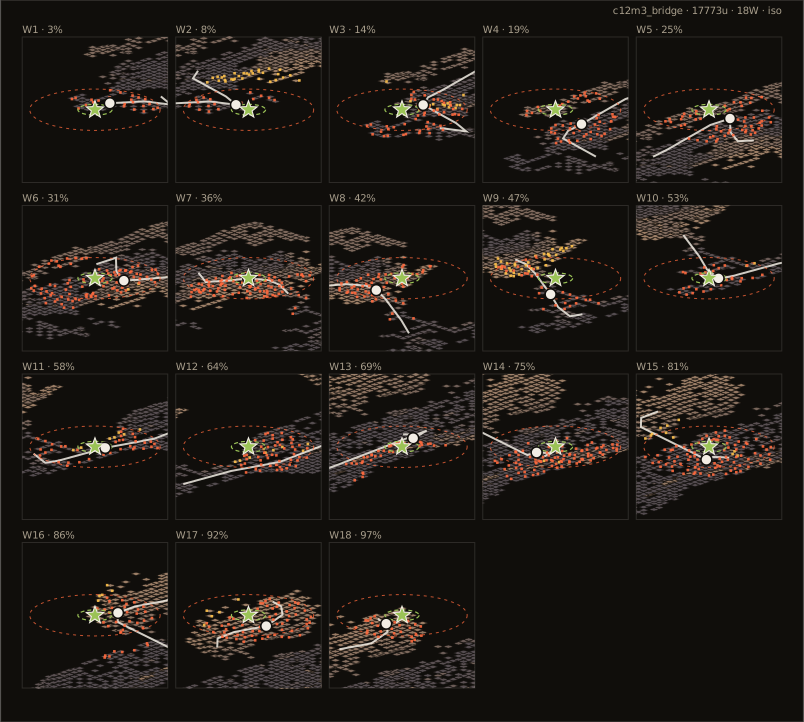
Lowering the bridge is the chapter's main event. After the button the bridge descends slowly and waves press onto the deck. Two hold the button side, two watch the far bank, and everyone crosses together once it seats. Nobody jumps early.
The rail stretch before the bridge is packed with cars. Same play as the Sacrifice docks: walk one row, do not split up to loop around.
- Hold spots
- Two at the button side, two watching the far bank; cross together when the bridge is down — nobody jumps early.
- Segment plan
- Opening (~6 waves): the rail yard carries many high points, walk along the cars. Middle (~5 waves): the valley is calm, pick up speed. Bridge phase (~7 waves): density rises again in the 60–80% event zone — clear both banks before the button.
Open this chapter in the spawn visualizer
Explore this chapter interactively: drag survivors, scrub progress, and spawn waves in the live simulator
c12m4 Barn: narrow stairs, do not stack
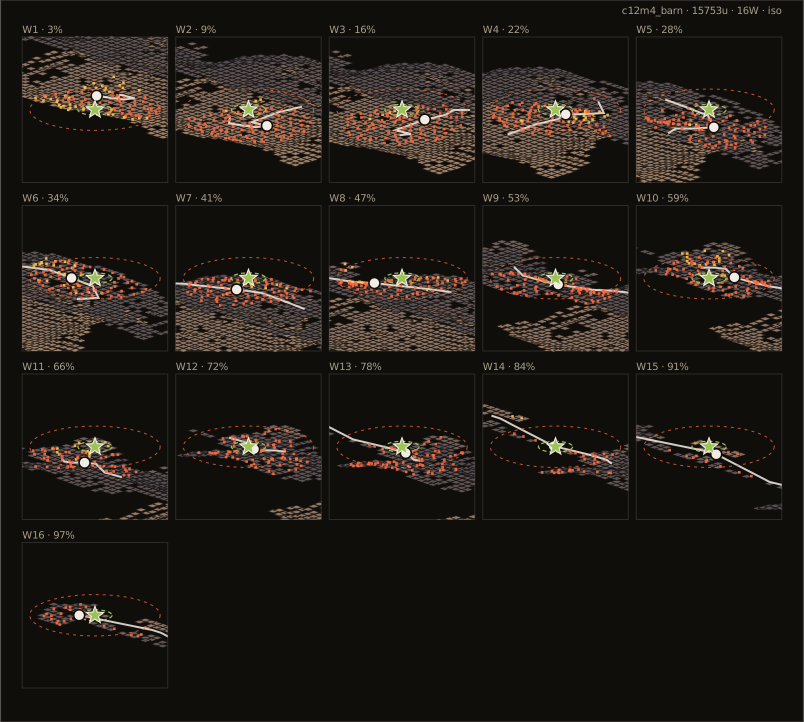
Station, fields, and barn alternate: watch spread outdoors and corners indoors. Barn stairs are narrow. Do not stack four on one flight; clear the upper floor before the rest follow.
- Hold spots
- Clear waves in ground-floor barn corners with hay at your back; the stairs take two at a time.
- Segment plan
- First 40% (~6 waves): station and fields alternate, watch spread outdoors. Middle (~7 waves): barn-cluster high points spike at 50–70% — the main fight of the chapter. Last 20% (~3 waves): almost no spawns; regroup and walk straight in.
Open this chapter in the spawn visualizer
Explore this chapter interactively: drag survivors, scrub progress, and spawn waves in the live simulator
c12m5 Cornfield: the farmhouse sits at 85%
The farmhouse sits at 85% of the Nav flow, so the first 85% is a cornfield push of roughly 17 to 25 waves. The corn has the worst sight lines on any map. The whole team walks one row, and anyone who loses sight of the vest ahead calls a stop.
After the radio call it is a hold. Split into two pairs, upstairs and down, stagger across windows, and do not cram four into one upstairs room. When the APC arrives, everyone runs together. The rear does not cover alone.
- Hold spots
- Split upstairs and downstairs in the farmhouse with staggered windows; never hold in the corn — walk the same furrow.
- Segment plan
- Push (~17 waves): walk the same furrow through the corn all the way, and go back-to-back in place when a wave lands. Setup: density climbs around the farmhouse past 70% — sweep the yard before going in. Hold: two teams upstairs and down, and rush together when the APC arrives.
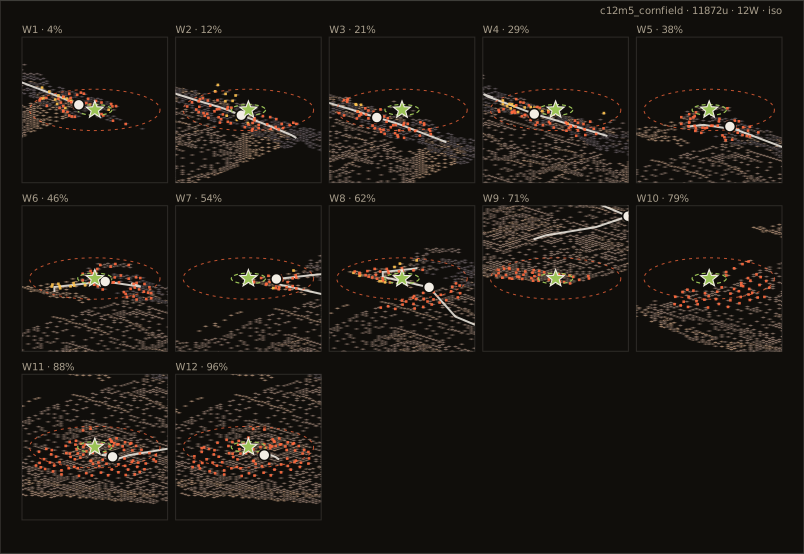
Open this chapter in the spawn visualizer