Dead Air Anne co-op: from greenhouse roofs to the runway
Rooftop high ground, the crane event, a long construction chapter, terminal escalators, and holding the runway for the plane.
Learn the pace before the route
At a normal Anne co-op pace, you cover roughly 3% to 5% of the flow between waves. Treat a chapter as 100%: door to saferoom costs 20 to 30 waves.
Each chapter below is split by flow percentage. To see the spawns for a stretch, click the link at the end of that chapter. The visualizer loads the map and places the whole team at that progress.
c11m1 Greenhouse: a ten-thousand-unit warmup
Just over ten thousand units of Nav flow, a standard short chapter: 10 to 15 waves should see you in. Do not let the length fool you. Roofs, courtyards, and greenhouse frames are all more than 32 units above eye level, and both Smoker and Hunter get the height cut. Single file on the roofs, tight spacing, keep looking up.
- Hold spots
- On the rooftop stretch hold the solid corners at the machine room and lightwell; nobody stands on the roof edge.
- Segment plan
- First 40% (~5 waves): the ground stretch is calm. Middle (~5 waves): density builds on the rooftops past 60%, tighten the single file. Last 30% (~5 waves): the last three waves are where short chapters slip — stay off the roof edge.
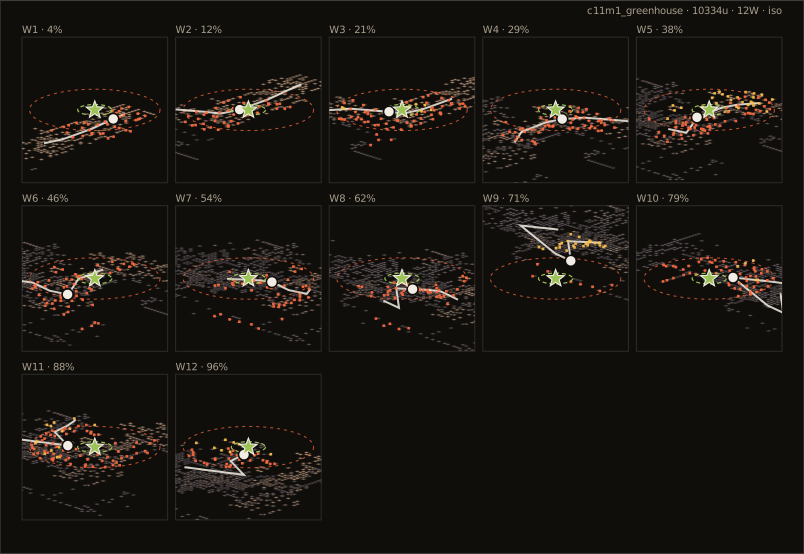
Open this chapter in the spawn visualizer
Explore this chapter interactively: drag survivors, scrub progress, and spawn waves in the live simulator
c11m2 Crane: clear the ground before the button
The first 40% crosses offices and back streets. Indoor corners everywhere; shotguns walk in front.
The crane lowering the dumpster is the chapter's main event. Before the button: clear the area, split supplies, stagger positions. The wave lands right as the dumpster does, so do not bunch up at the jump spot. Jump and keep moving. Lingering at the landing is a running Anti-Bait timer.
- Hold spots
- Before pressing the button, hold the wall corners flanking the office entrance; after the dumpster jump, move immediately — no lingering at the landing.
- Segment plan
- First 50% (~9 waves): offices and back streets are calm, shotguns lead. Event (~6 waves): density doubles in the crane zone at 50–70% — clear and split supplies before the button. Last 30% (~7 waves): rooftop high points spike at 80–90%; after the dumpster jump keep moving.
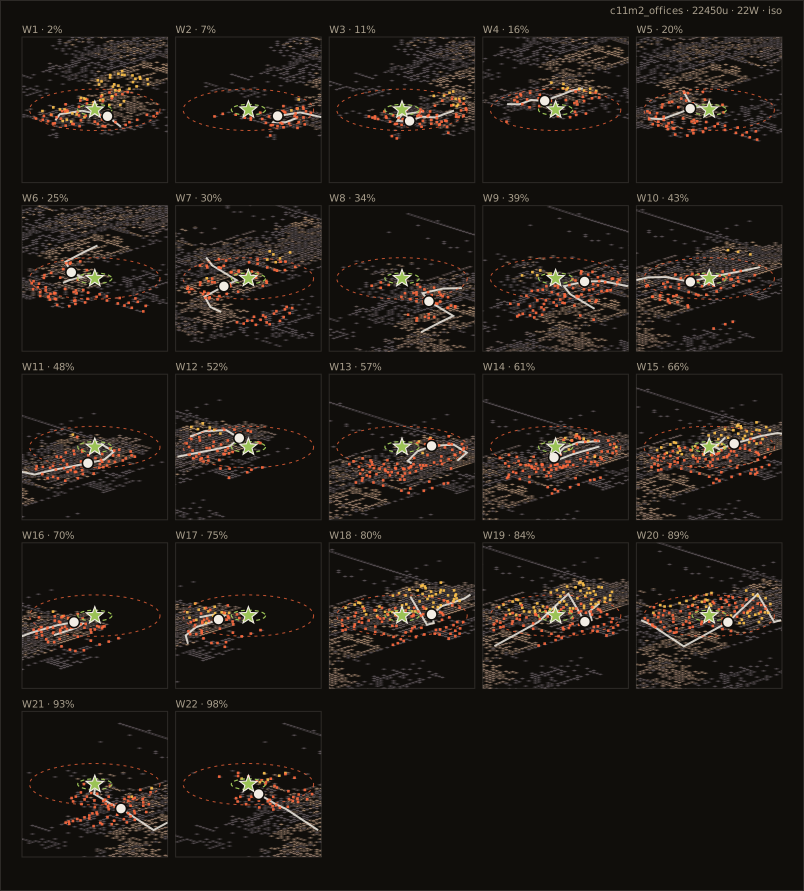
Open this chapter in the spawn visualizer
Explore this chapter interactively: drag survivors, scrub progress, and spawn waves in the live simulator
c11m3 Construction site: high ground on every level
A twenty-five-thousand-unit chapter. Every level of scaffolding sits in the Hunter 350-to-950 band. The pounce shriek sounds far away; the landing takes one second. Cross open stretches in staggered pairs, not a single line.
A narrow chokepoint sits before the airport fence. If the countdown is near its deadline, do not grind in the choke. Get through, then top off.
- Hold spots
- Clear waves at solid wall corners on the lower level, never holding up on the scaffolds; push through the narrow choke before topping off.
- Segment plan
- First 40% (~9 waves): steady through the back streets. Middle (~8 waves): the steel frames grow denser, listen for pounces from the scaffolds. Last 30% (~8 waves): from the site core to the airport fence (70–100%) is the map peak — the last five waves are the hardest, save supplies for them.
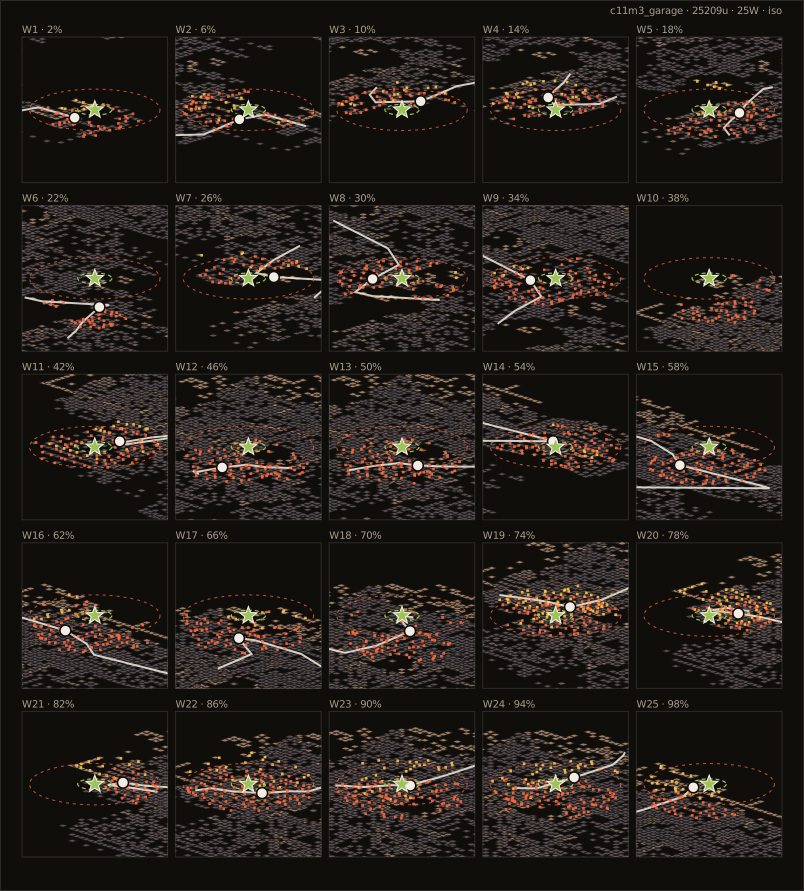
Open this chapter in the spawn visualizer
Explore this chapter interactively: drag survivors, scrub progress, and spawn waves in the live simulator
c11m4 Terminal: two per escalator
The hall is open but the pillars are dense. Boomer corners as usual. Escalators and narrow passages are single-file spots: two go up, the rest watch both ends of the hall.
The baggage area and the security choke are the tightest squeezes of the chapter. A healthy clump stalled here for 2 seconds enters an uncapped hold. Stagger to top off, then move immediately.
- Hold spots
- Clear waves staggered behind the security gates and counters, never stopping mid-hall; leave two at the escalators watching both ends.
- Segment plan
- Opening (~5 waves): get set among the lobby pillars first. Middle (~8 waves): the security and baggage zone at 30–70% is high on both density and high points — the main fight. Last 30% (~5 waves): the departure hall drops off sharply; push steady and fast to the saferoom.
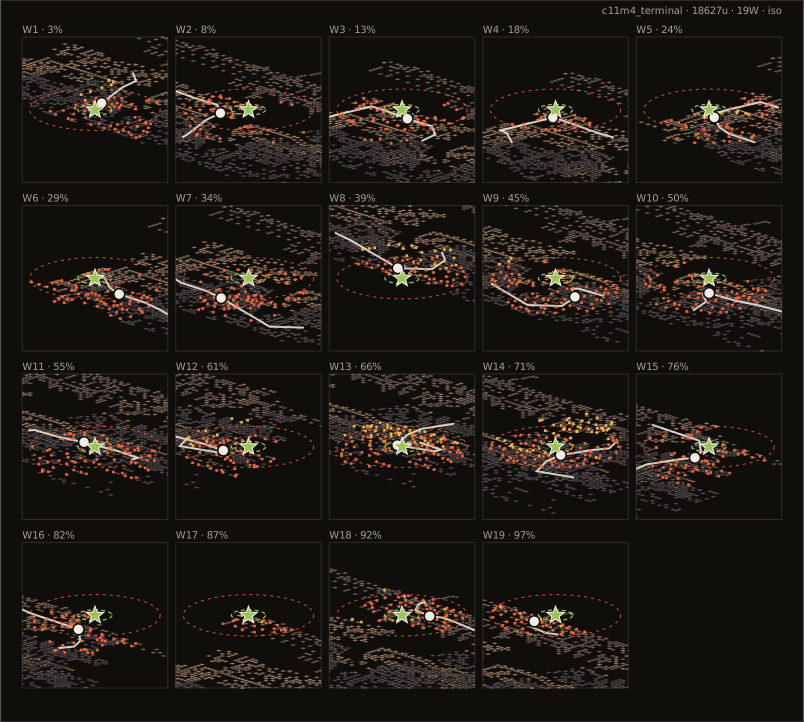
Open this chapter in the spawn visualizer
Explore this chapter interactively: drag survivors, scrub progress, and spawn waves in the live simulator
c11m5 Runway: the shortest flow on the server
Finales do not run on the push pace. Waves are event-driven; the hold and the rotation are the real game.
Four thousand units of total Nav flow, the shortest chapter in the server data. The runway is open with no walls. Stagger behind plane wreckage and containers and treat every direction as a lane. A Tank on the runway sees everything: keep all gas and molotovs for it and never kite it on the flat.
- Hold spots
- Stagger between plane wreckage and containers and treat every direction as an approach; kite the Tank around the wreckage with all the oil saved for it.
- Segment plan
- Setup: there is no density lull anywhere — take hold positions and split supplies from the very start. Rotation: rotate among wreckage and containers, treating every direction as an approach. Tanks: kite around the wreckage with all oil and molotovs saved for them.
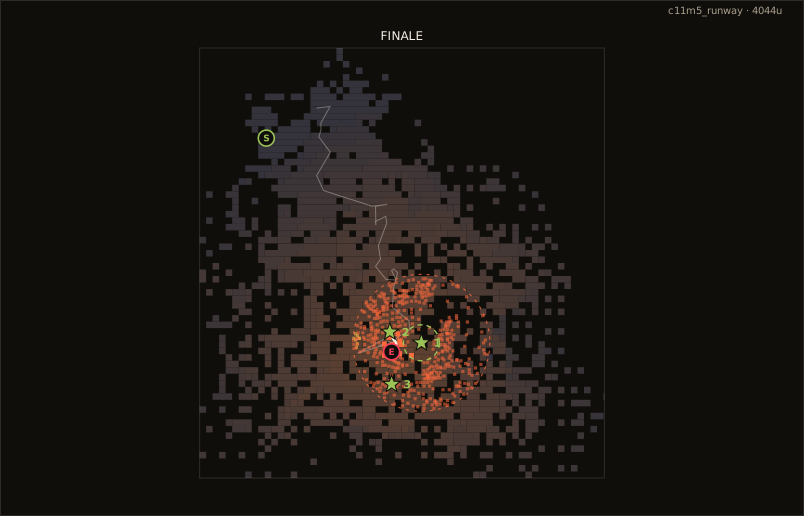
Open this chapter in the spawn visualizer