Hard Rain Anne co-op: the same map, walked twice
On the way out you pick the route. On the way back the water picks for you. Cane field spread, sugar mill high ground, and holding steady through the flooded town.
c4 in Anne co-op
This campaign walks the same area out and back. Half the shortcuts you note on the way out are flooded shut on the return, and the detours stretch team spread wider and wider. The rain squalls crush visibility. If you cannot see a teammate's vest, stop.
The distance bands have not changed: Boomer 250 to 550, Smoker minimum 500, Hunter 350 to 950. What changed is your sight lines and your route.
At a normal Anne co-op pace, you cover roughly 3% to 5% of the flow between waves. Treat a chapter as 100%: door to saferoom costs 20 to 30 waves.
To check spawns for a stretch, click the visualizer link at the end of each chapter — the map loads with the whole team placed at that progress. Before a hold, drag the progress to that stretch and check the legal spawn points first.
Open this chapter in the spawn visualizer
Explore this chapter interactively: drag survivors, scrub progress, and spawn waves in the live simulator
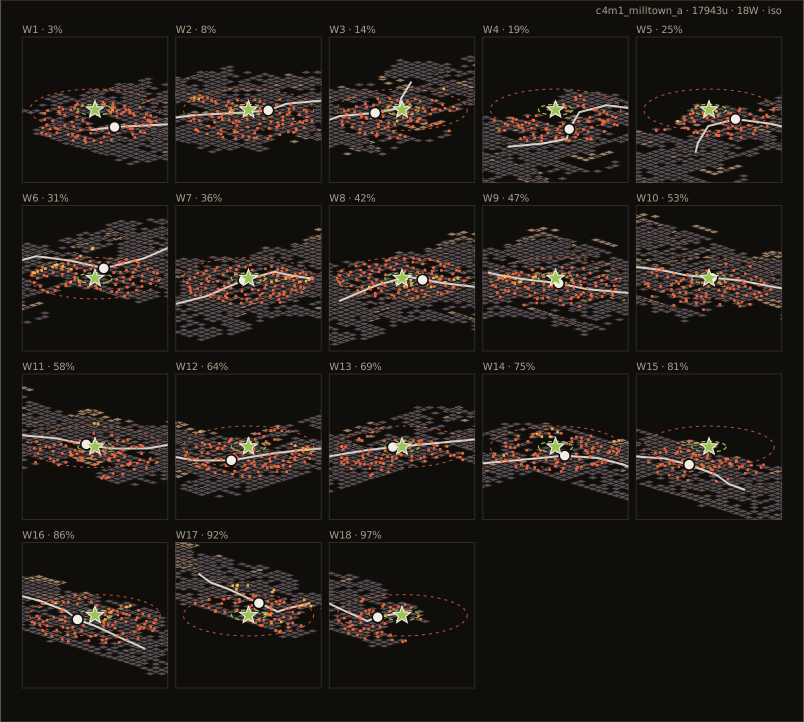
c4m1 Town: do not split four ways to loot
Every house and the gas station look worth searching. Four people in four buildings puts spread past 800 instantly, and anyone isolated past 1200 gets named by Hunters and Jockeys. Pairs. Finish one building, then the next.
Learning the route matters more than looting here. You will wade this again in the dark on the return. Take extra looks at the planks and rooftops now.
- Wave budget
- Around twenty waves; spend the trip out memorizing the route — you pay for the return leg later.
- Hold spots
- Clear waves in single-door house rooms and search in pairs; never open four buildings at once.
- Segment plan
- Opening (~6 waves): the town entrance is dense right out of the door — get set before moving. Middle (~8 waves): the town center peaks at 40–60%, search houses in pairs. Last 30% (~6 waves): regroup before the mill and memorize the route you will need on the way back.
c4m2 Cane field and sugar mill: Witch country
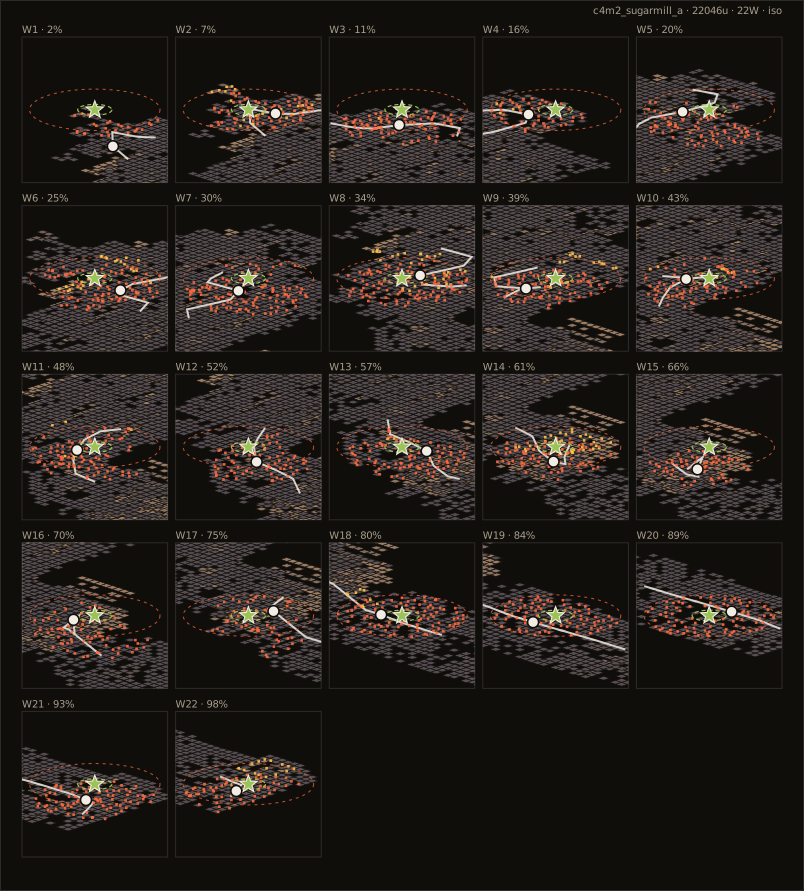
The cane field has the cornfield problem: broken sight lines, spread drifting past 1500 without anyone noticing. Walk the same lane. Do not greed the supplies on the sides.
Witch density along the mill is high. Spraying while running startles one sooner or later. If someone gets pinned after a startle, the vulnerable state dumps the wave immediately. Route around when you can. When you cannot, agree who clears first.
The mill towers and pipework are Smoker and Hunter high ground. Anything 32 units above eye level gets the height cut, so even long detours can score. Look up and listen.
- Wave budget
- Twenty-five waves and up; the cane fields slow you down, so drop the pace through the Witch-dense stretches.
- Hold spots
- Clear waves in mill workshop corners with machinery at your back; never hold in the fields — the whole team walks the same lane.
- Segment plan
- First 20% (~6 waves): calm push at the town edge. Middle (~10 waves): 20–40% is the densest stretch of the whole campaign (cane field meets mill, a third of it high points) — hug one lane and go slow. Late (~9 waves): tower high points stay dense at 60–70%, keep your ears up.
Open this chapter in the spawn visualizer
Explore this chapter interactively: drag survivors, scrub progress, and spawn waves in the live simulator
c4m3 Mill return: familiar roads punish speed
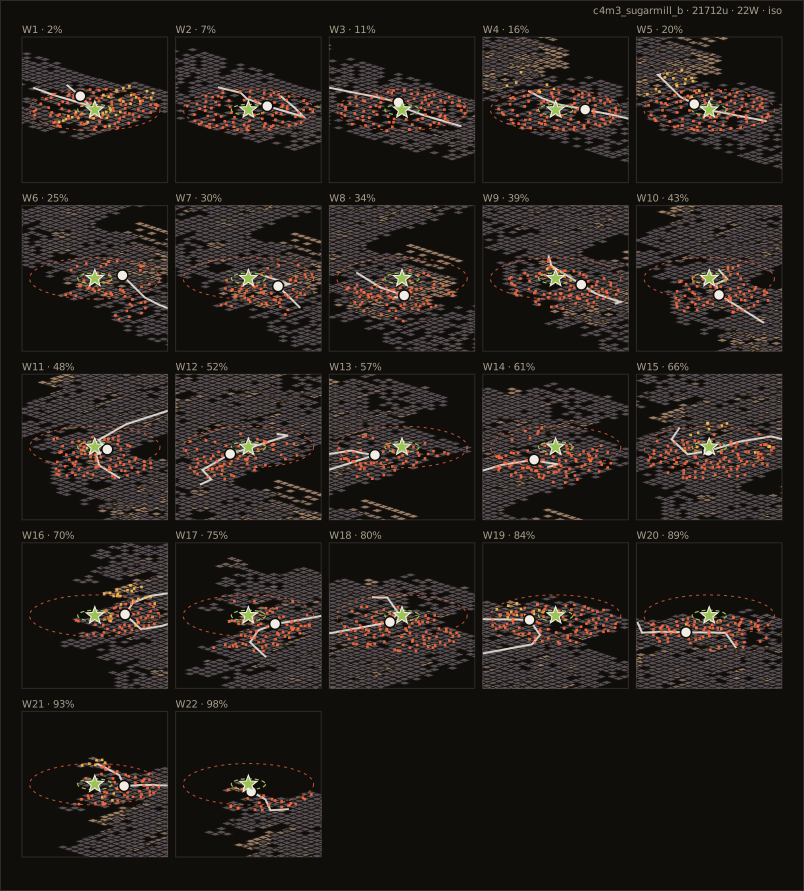
Gas in hand, heading back on a road you just walked, everyone wants to run. When the lead speeds up, lower-median Flow is still behind, the countdown still reads a stall, and you have only walked yourself out of grouping range.
Elevator rules as usual: stagger while waiting, do not clump and grind at the door, check both ends going in and out.
- Wave budget
- Around twenty waves; do not speed up after grabbing the gas — formation on the way back is worth more than time.
- Hold spots
- Wait staggered on both sides of the elevator, never against the doors; clear waves in workshop corners with machinery at your back.
- Segment plan
- First 40% (~7 waves): the calm stretch after grabbing the gas — do not speed up. Middle (~8 waves): the return mill at 50–70% is one of the highest density peaks in the whole dataset; hold formation around the elevator. Last 30% (~5 waves): density tapers off, one last regroup before leaving the mill.
Open this chapter in the spawn visualizer
Explore this chapter interactively: drag survivors, scrub progress, and spawn waves in the live simulator
c4m4 Flooded town: water slows everyone
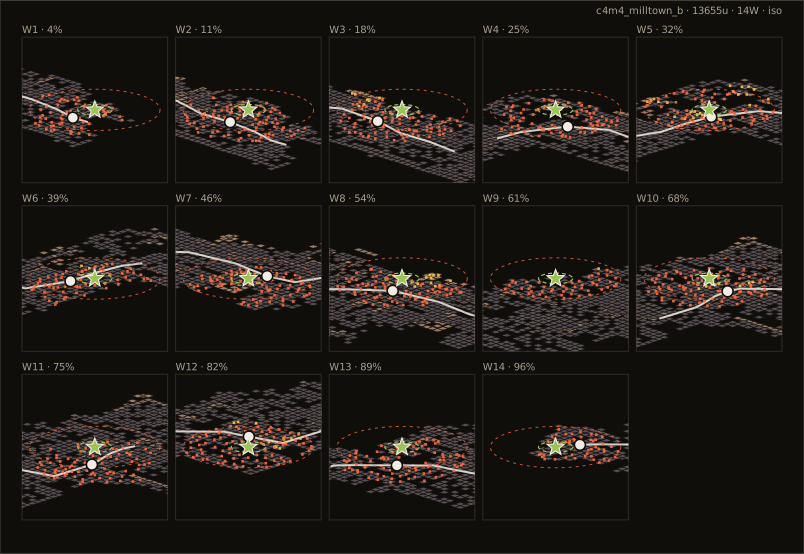
Nobody moves fast in water and the back falls behind easier. Progress reads lower-median Flow. The front runner on a rooftop plank drags nothing forward and eats the first pick.
Take the high road over planks and roofs. Where single file is forced, tighten spacing. Someone down in the water stops the whole team. Do not let the rescuer become the next vulnerable target.
- Wave budget
- Twenty-five waves and up; you are slowed in water the whole way, so budget supplies like an extended run.
- Hold spots
- Regroup and clear waves on the high rooftop platforms; never stop in the water, and drag downed players to high ground first.
- Segment plan
- First 30% (~7 waves): out of the mill and into the water — adjust to the slowed pace first. Middle (~9 waves): the flooded town center at 40–70% is dense, take the high plank routes. Last 30% (~9 waves): Flow is slow but waves are not; budget nine waves before the saferoom.
Open this chapter in the spawn visualizer
Explore this chapter interactively: drag survivors, scrub progress, and spawn waves in the live simulator
c4m5 Dock finale: an open hold
After the signal it is an open-ground hold. Four people behind the same shelf is a running Anti-Bait timer. Two watch the town side, two stagger toward the water. Move together when you rotate.
When the Tank comes, kite with buildings and elevation. You will not outrun it on flat ground. The gas you have carried since the start of the map is for this.
- Wave budget
- The finale rotates waves on a script: light the Burger Tank sign and wait for the boat, normally at least two Tanks, and waves only stop when the boat docks.
- Hold spots
- Two watch the town side, two stagger toward the water, and every relocation moves together; kite the Tank with buildings and height changes instead of crouching behind one shelf.
- Segment plan
- Setup: density is lowest at the start — move supplies to the hold and locate the signal sign. Rotation: approaches are densest from the 40–70% band (town side), so do not stack all guns on the water side. Tanks: pull both toward buildings and height changes, and leave together when the boat lands.
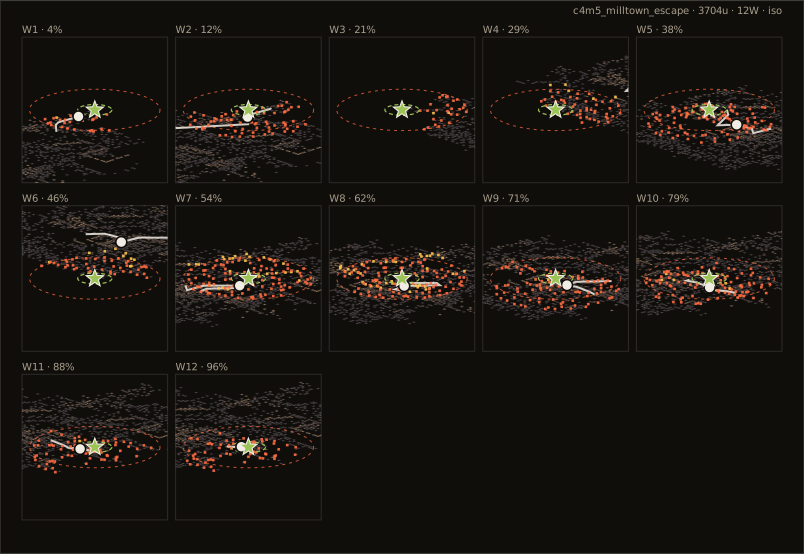
Open this chapter in the spawn visualizer