The Parish Anne Co-op: Waterfront to Bridge
Park, cemetery, alleys, bridge. This map splits the team the most.
Learn the pace before the route
At a normal Anne co-op pace, you cover roughly 3% to 5% of the flow between waves. Treat a chapter as 100%: door to saferoom costs 20 to 30 waves.
To check spawns for a stretch, click the visualizer link at the end of each chapter — the map loads with the whole team placed at that progress. Before a hold, drag the progress to that stretch and check the legal spawn points first.
c5m1 Waterfront: all four out before you walk
Outside is open ground. The lead should not sprint the next street in one go. If one is already past the dock and three are still looting the door, lower-median Flow is still at the door.
- Wave budget
- A short chapter, about fifteen waves; do not spend supplies on street stragglers at the start.
- Hold spots
- Clear waves in single-entrance corners of the street-side shops; regroup before every crossing.
- Segment plan
- First 30% (~4 waves): form up outside the saferoom before moving. Middle (~5 waves): density climbs through 30–70% with nearly half the spots high — look up in the market awnings. Last 30% (~4 waves): regroup before crossings; short chapter, no slacking.
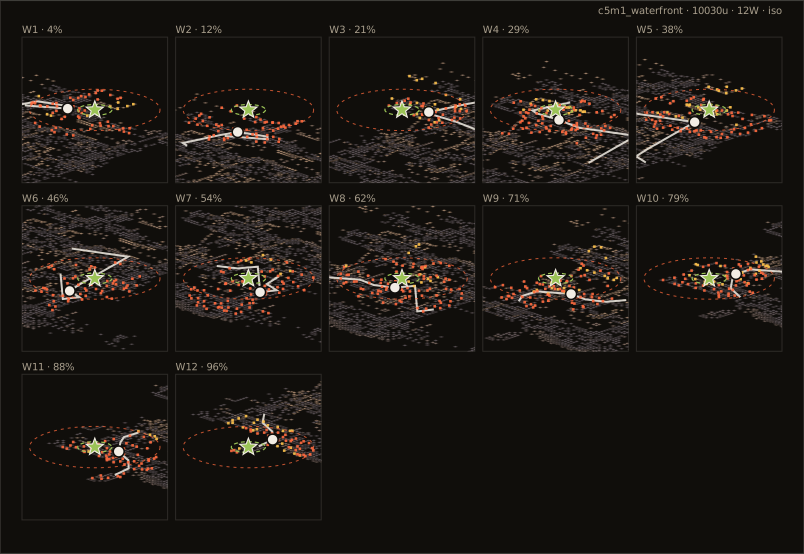
Open this chapter in the spawn visualizer
Explore this chapter interactively: drag survivors, scrub progress, and spawn waves in the live simulator
c5m2 Park: trees split the team
The park is harder to clump than the street. Trees and slopes cut sightlines, and spread drifts past 1500. Walk the same side path.
Do not heal as a healthy clump at the bridgehead or gate. The wave stores for the step onto the bridge. Heal back in cover on both sides.
- Wave budget
- Around twenty waves; the open park moves fast, so do not stall the pace at the bridgehead.
- Hold spots
- Clear waves behind the pavilions and low walls, never mid-bridge; regroup at the gate before the next stretch.
- Segment plan
- Opening (~6 waves): 0–10% right outside is dense — clear before walking. Middle (~8 waves): the open park drops in density; push faster and win the tempo back. Late (~7 waves): the gate area at 70–80% is dense again, regroup and top off before passing.
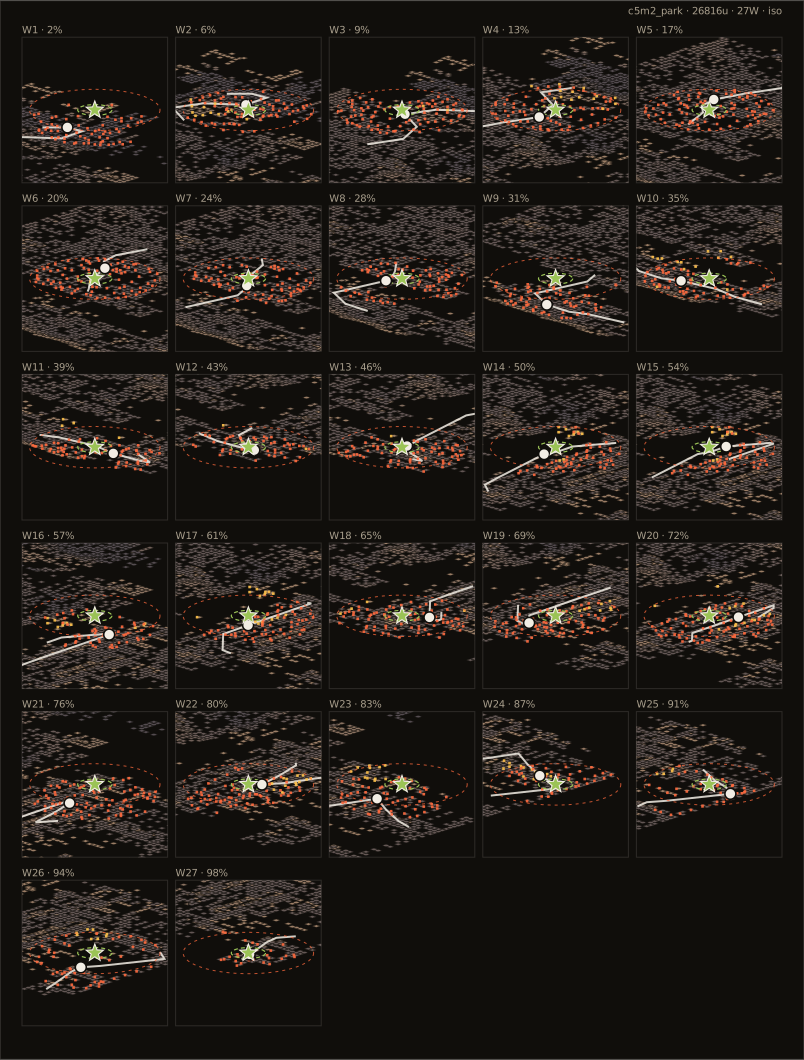
Open this chapter in the spawn visualizer
Explore this chapter interactively: drag survivors, scrub progress, and spawn waves in the live simulator
c5m3 Cemetery: do not each watch one direction
Crossings. Four people watching four directions means each is isolated. Two watch forward, one watches the side path, rear watches the way you came.
"Someone on the left fork" is more useful than "Hunter". Headstones create many legal height differences. Hunter and Jockey come from the fork you are not watching.
- Wave budget
- Around twenty waves; the forks invite backtracking, so pick one main line and do not loop.
- Hold spots
- Clear waves in corners backed by tall headstones or the wall, rear watching the way you came; clear the sewer exit before anyone climbs.
- Segment plan
- Early (~7 waves): the sewers spawn along your line — keep both pipe mouths watched. Middle (~7 waves): divide the watch at cemetery crossings and never backtrack. Late (~6 waves): the exit alleys narrow, rear watches the way you came.
Open this chapter in the spawn visualizer
Explore this chapter interactively: drag survivors, scrub progress, and spawn waves in the live simulator
c5m4 Quarter: treat corners as occupied
Alleys are narrow with tight corners. Boomer and Charger hurt most here. Do not walk the whole team along one wall. One charge can take two people.
Balconies and second-floor windows are Smoker high ground. If someone is pulled up, people below cut the tongue first.
- Wave budget
- Around twenty waves; alley fights burn ammo fast, so top off at every ammo pile you pass.
- Hold spots
- Clear waves in single-entrance courtyards and shops; before going up for a balcony rescue, cut the tongue from below first.
- Segment plan
- First 40% (~8 waves): steady alley clearing, restock ammo as you pass. Middle (~7 waves): the quarter center at 50–60% peaks in both density and balcony high points — the main fight. Last 30% (~6 waves): streets narrow, do not rush, treat every corner as occupied.
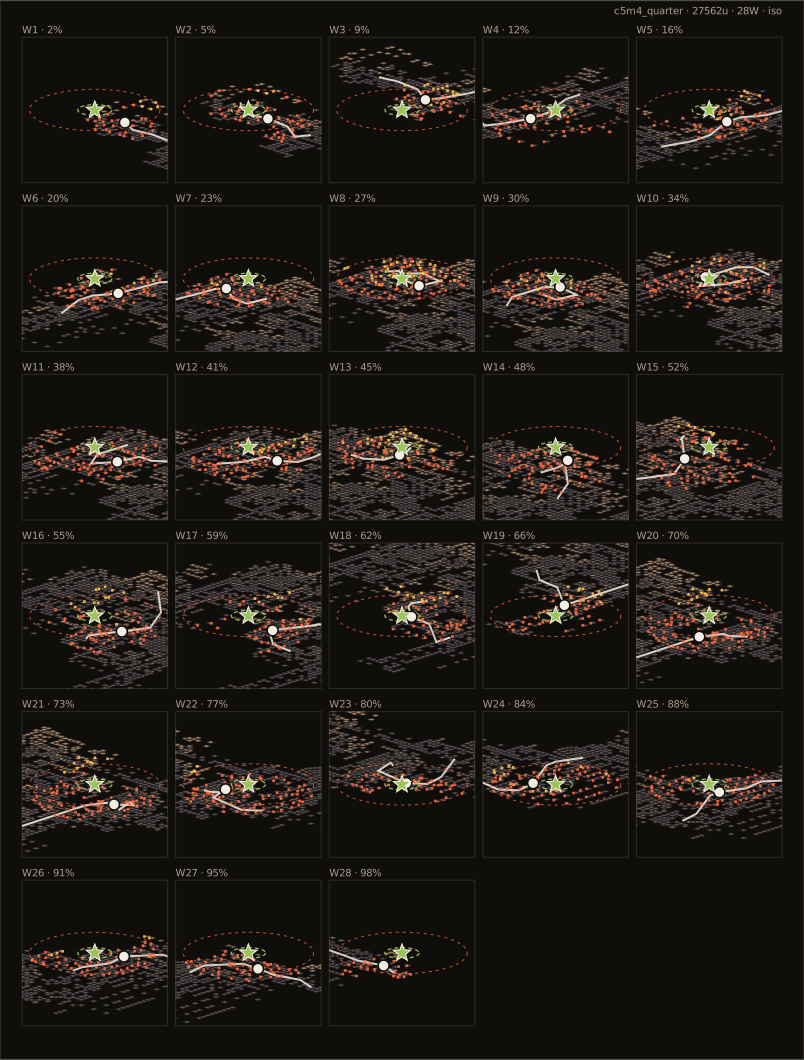
Open this chapter in the spawn visualizer
Explore this chapter interactively: drag survivors, scrub progress, and spawn waves in the live simulator
c5m5 Bridge: it only counts as progress if you run
A long straight map. One player reaching halfway does not move progress and gets picked first. Agree on a rough speed. If someone goes down, the whole team stops. Do not let the front two keep running past 1200.
If the Tank spawns on the bridge, use cars and rails. Kiting in the middle of the lanes, you will not outrun Extreme.
- Wave budget
- After the bridge lowers, the finale is a running stretch: waves come on the script, a Tank fight on the span is guaranteed, so keep oil and molotovs for the bridge.
- Hold spots
- Divide supplies in the bridgehead hut and hold the first wave there; on the span move staggered along the car shells, never mid-lane.
- Segment plan
- Before the bridge (~8 waves): normal push through the first 50%, divide supplies in the bridgehead hut. On the span: 70–80% has zero high points — everything comes at deck level, so Charger lines and the Tank are the threats; move staggered along the car shells. Coming down: high points return on the towers past 90%, descend together.
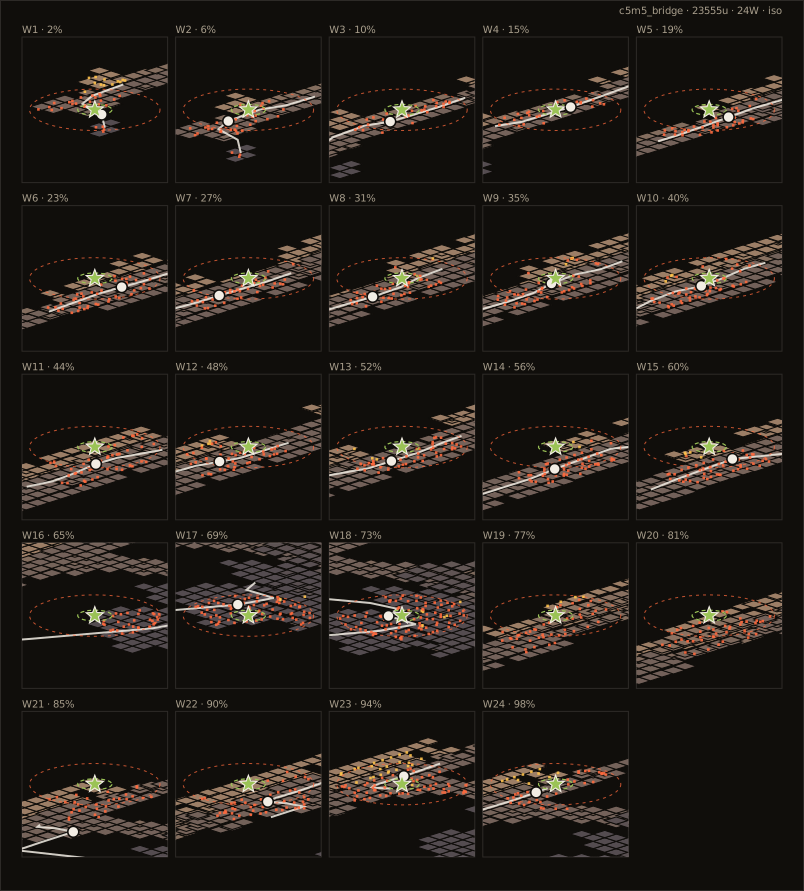
Open this chapter in the spawn visualizer