Swamp Fever Anne Co-op: Plank Country to Plantation
Single-file planks, coverless swamp, shantytown alleys, plantation stairwells.
Learn the pace before the route
At a normal Anne co-op pace, you cover roughly 3% to 5% of the flow between waves. Treat a chapter as 100%: door to saferoom costs 20 to 30 waves.
To check spawns for a stretch, click the visualizer link at the end of each chapter — the map loads with the whole team placed at that progress. Before a hold, drag the progress to that stretch and check the legal spawn points first.
c3m1 Plank Country: the last player is the most exposed
The planks are only wide enough for single file. Four in a line easily exceed 800, and the last player is Hunter and Jockey food. Where the bank lets you, stagger into two columns. When you must single-file, tighten spacing and halt the whole team on a down.
Calling the ferry is this chapter's event: press the button and you hold in place while waves roll until the boat docks. Top off health and ammo before pressing, and do not heal on the planks — the wave gets stored for the step off the boat.
- Wave budget
- Around twenty waves; the ferry hold eats two or three extra in place, so leave room in the budget.
- Hold spots
- Wait for the ferry at a shoreline shack corner with the water at your back and one approach; never hold on the planks — if someone drops, stop first, then revive.
- Segment plan
- First 40% (~8 waves): single-file plank stretch — tight spacing, slow pace. Middle (~7 waves): the ferry dock area at 50–70% is the chapter density peak; empty it before calling the boat. Last 30% (~6 waves): no rush after the crossing; regroup once more before the gate.
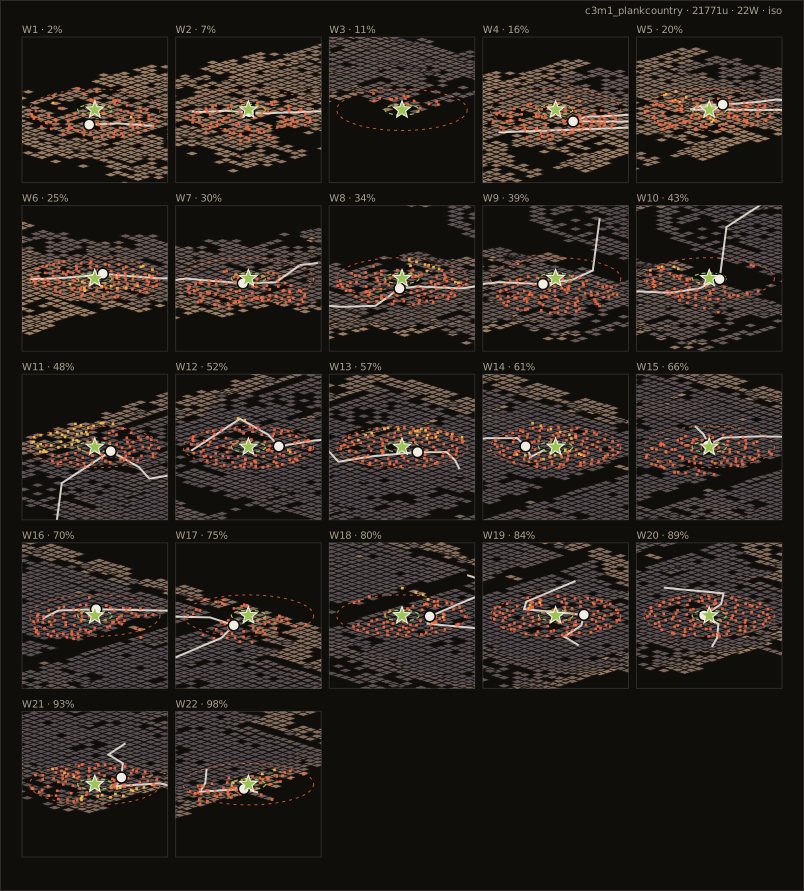
Open this chapter in the spawn visualizer
Explore this chapter interactively: drag survivors, scrub progress, and spawn waves in the live simulator
c3m2 Swamp: walk only if you can still see the vest
The swamp has almost no walls. Trees and slopes cut vision, and spread drifts past 1500. The lead should not walk out of the second player's sight.
Water is slow, so lower-median Flow depends even more on whoever is behind. Rushing the next shack does not move progress and gets you picked first.
The crashed airliner's emergency door is this chapter's alarm event: the alarm starts the moment it opens and waves chain in. Group up and top off before opening, move straight through the fuselage and keep going — do not loot the wreck.
- Wave budget
- Twenty-five waves and up: water slow plus the door alarm makes this the most supply-hungry chapter of the campaign.
- Hold spots
- Clear waves on shacks and platforms above the waterline with the fuselage or a wall at your back; never linger in the water — drag downed players ashore first.
- Segment plan
- First 30% (~7 waves): shallows push, low density, keep the rhythm steady. Middle (~9 waves): the crash-site density peak at 30–50% — empty the area before opening the door. Last 30% (~8 waves): another dense band at 80–90% near the saferoom; do not relax at the end.
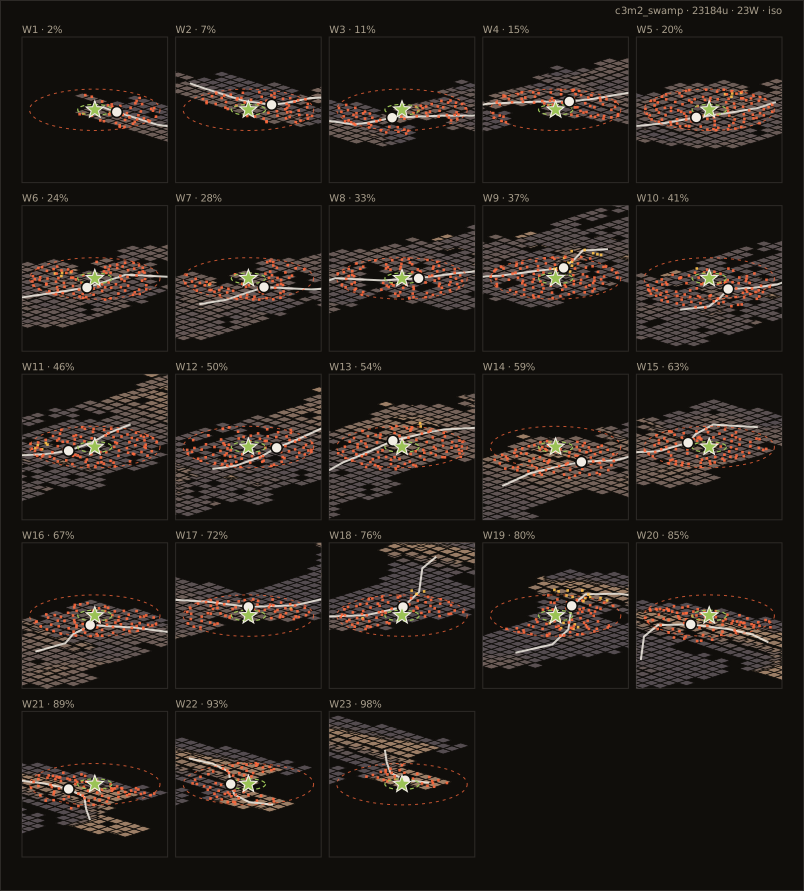
Open this chapter in the spawn visualizer
Explore this chapter interactively: drag survivors, scrub progress, and spawn waves in the live simulator
c3m3 Shantytown: close range in the alleys
Shack alleys are narrow with tight corners. Boomer and Charger hurt most here. Do not walk the whole team along one wall.
Roofs and porches are Smoker high ground. If someone is pulled up, people below cut the tongue first. No more than two on a ladder at a time.
- Wave budget
- Around twenty waves; the village is all doors and narrow paths, so clear steadily instead of racing for the route.
- Hold spots
- Clear waves in single-entrance shacks and check both sides at every doorway; do not hold long on the drying decks — the people below cannot see you.
- Segment plan
- Opening (~6 waves): you start inside a dense zone — clear first, then move. Middle (~7 waves): drying decks and roofs at 30–40% carry many high points, walk with eyes up. Late (~7 waves): the village center at 60–70% is the map peak and the worst alley fight — top off ammo beforehand.
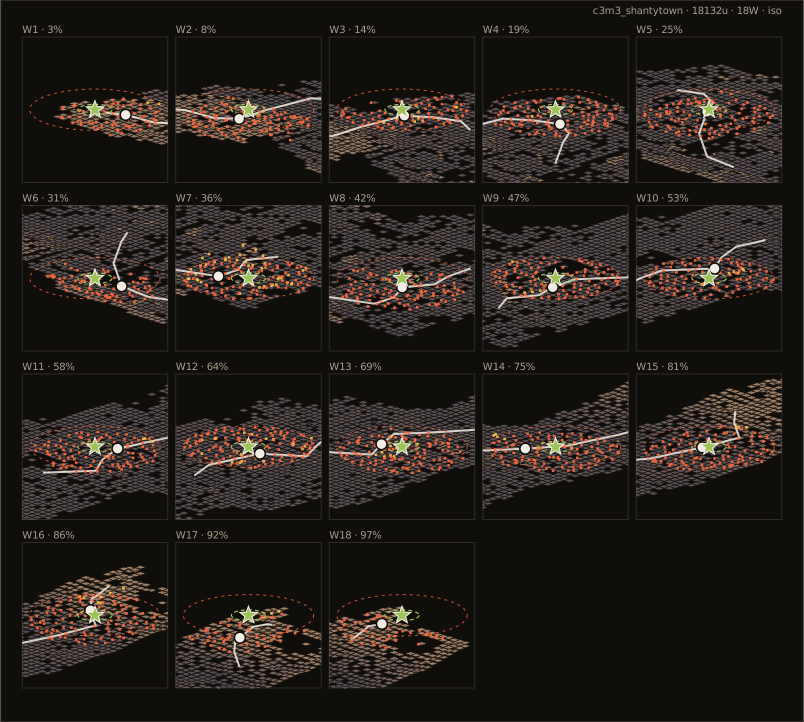
Open this chapter in the spawn visualizer
Explore this chapter interactively: drag survivors, scrub progress, and spawn waves in the live simulator
c3m4 Plantation: stairwells and the porch
A multi-floor shaft plus an open porch. Stop on the stairs to reload and SI spawn from the floor above or below. Do not stack four people on the same flight.
The finale calls the boat by radio: hold until it docks, then blow the gate and rush down to the pier. On the porch hold, rear watches the side doors — spawns come from all four sides and Boomers favor the pillars; every hold needs two people in sight of each other.
- Wave budget
- Finale waves rotate on a script, normally at least two Tanks; waves do not stop until the boat arrives, so keep every oil and molotov for the Tanks.
- Hold spots
- Split into two staggered pairs at the upstairs windows and behind the porch pillars; when the gate blows, rush the pier together with no lone rear guard.
- Segment plan
- Push (~6 waves): the first 60% is relatively calm — save supplies. Entering the manor: density and high points both peak at 60–80% (upstairs windows and the tree line), so sweep once before the porch. Hold: fight Tanks on the script, and rush the pier together when the boat lands.
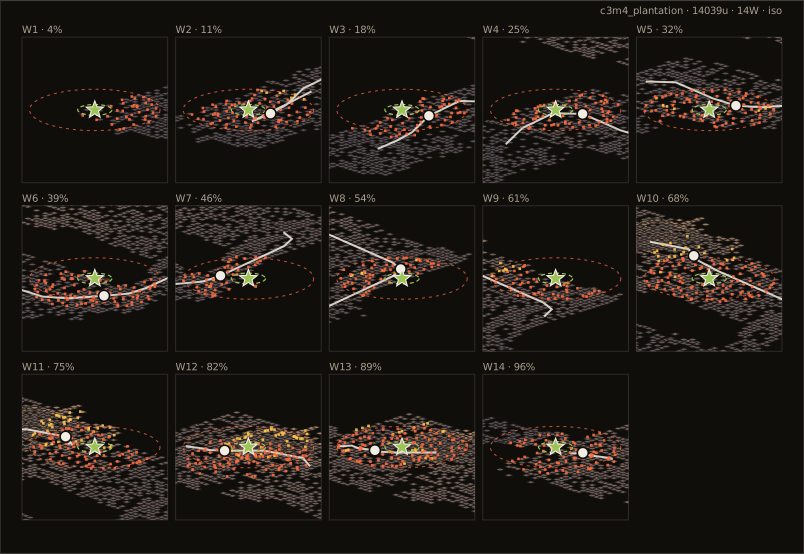
Open this chapter in the spawn visualizer