The Sacrifice Anne co-op: rails, the barge, and that bridge
The first two chapters both run past twenty-eight thousand units, so stock for a long game. Decide before the door who goes down for the generator at the end.
Learn the pace before the route
At a normal Anne co-op pace, you cover roughly 3% to 5% of the flow between waves. Treat a chapter as 100%: door to saferoom costs 20 to 30 waves.
Each chapter below is split by flow percentage. To see the spawns for a stretch, click the link at the end of that chapter. The visualizer loads the map and places the whole team at that progress.
c7m1 Docks: train cars shred your sight lines
Twenty-nine thousand units of Nav flow, a long chapter right out of the gate. The rail yard looks open but the cars shred every sight line, and anything coming from under or between them is a close-range fight. Walk one row of cars. Do not split two per side.
Mid-to-late chapter runs through the brick factory and warehouses. Stairs and catwalks sit in the Hunter 350-to-950 band. If someone walks the upper level, someone below watches up.
- Hold spots
- Clear waves in the dead corners between train cars with a car wall at your back; regroup at the stairs before the brick works — upstairs walks, downstairs looks up.
- Segment plan
- First 40% (~10 waves): walk one train line through the cars. Middle (~9 waves): the brickworks boundary at 40–50% is the chapter peak — eyes up on stairs and walkways. Last 30% (~8 waves): the warehouses at 70–80% get dense again, stay composed before the saferoom.
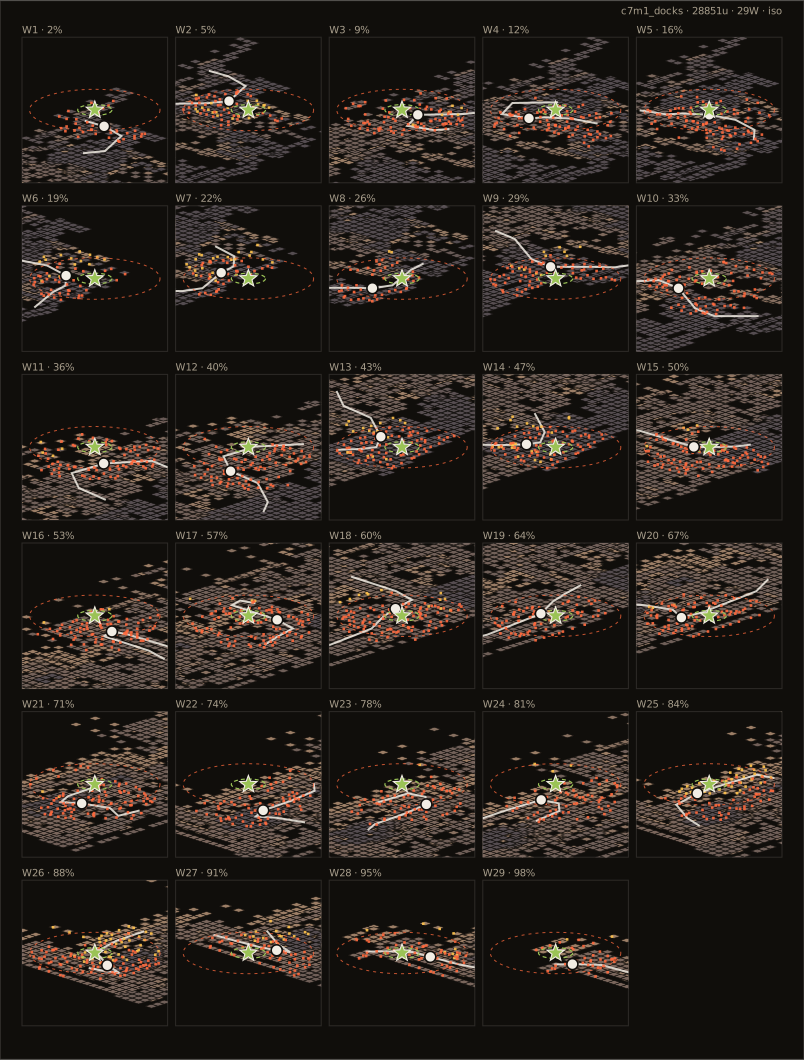
Open this chapter in the spawn visualizer
Explore this chapter interactively: drag survivors, scrub progress, and spawn waves in the live simulator
c7m2 Barge: the longest chapter of the campaign
Thirty-two thousand units, longer than c7m1. At 3% to 5% per wave, the push alone costs 25 waves and up. Split kits and ammo for a long game and do not waste them early.
The riverside industrial stretch is warehouses and alleys, the same rhythm as the docks. The barge crossing is a low point with both banks above you. Pull into two columns for those waves, and whoever gets tongued, cut it first.
- Hold spots
- Clear waves in single-entrance yards between the warehouses; regroup on the high bank before boarding the barge.
- Segment plan
- First 40% (~10 waves): the first half of the longest chapter — solve with movement, not supplies. Middle (~9 waves): industrial density climbs through 50–70%, clear the warehouse alleys steadily. Last 30% (~8 waves): both banks carry high points around the barge at 70–80%, cross in two columns.
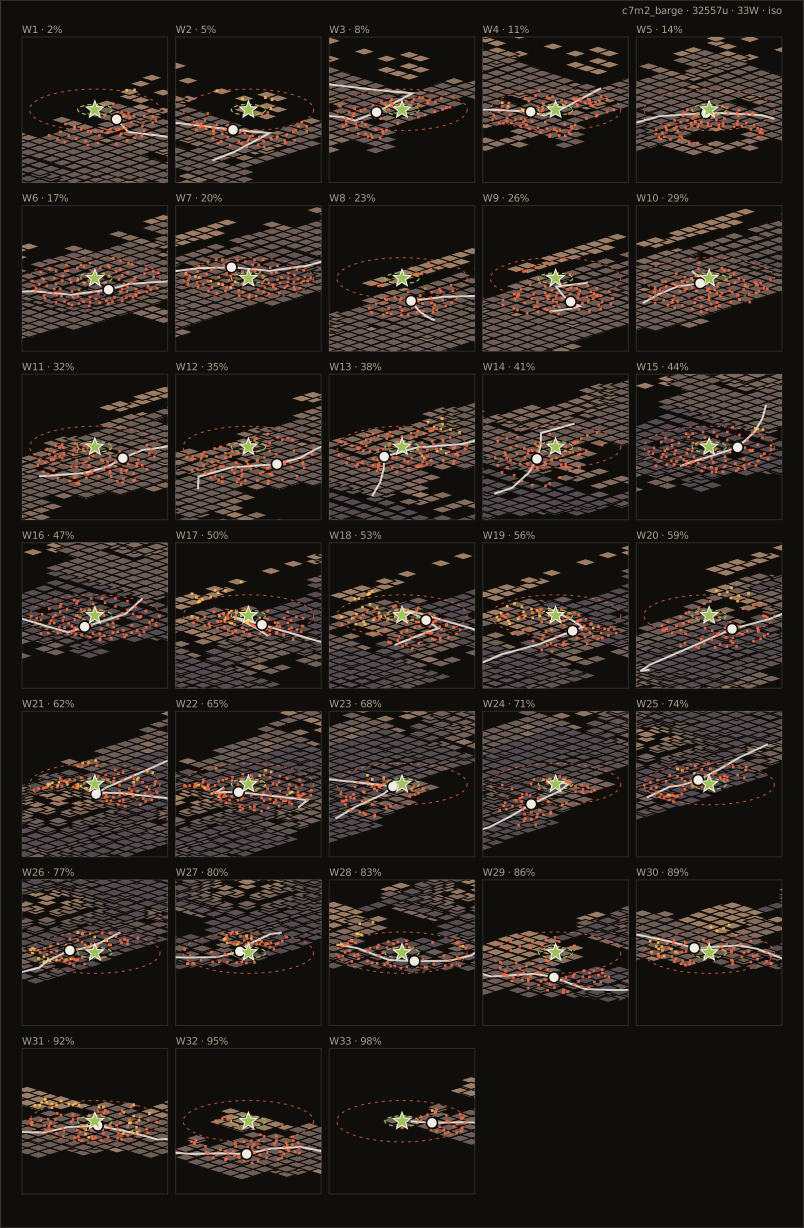
Open this chapter in the spawn visualizer
Explore this chapter interactively: drag survivors, scrub progress, and spawn waves in the live simulator
c7m3 Port: decide who goes down before the door
Finales do not run on the push pace. Waves are event-driven; the hold and the rotation are the real game.
Start the generator to raise the bridge. It stalls partway and someone has to go down to restart it. Do not improvise in Anne co-op: settle who goes down and who covers from the bridge before you leave the saferoom. The runner carries bile. Cornered, throwing it at your own feet beats waiting for help.
The people on the bridge should not all stare down. SI come from both ends of the deck. Keep one player on the way back.
- Hold spots
- On the bridge stagger along the rails with one person watching the way back; whoever goes down to restart hugs the wall while the bridge guns track them.
- Segment plan
- Setup: before raising the bridge, walk the deck holds and the route down once. Event: candidates are densest at 70–90% (the yard below); the restarter hugs the wall while deck guns track them. Escape: leave together once the bridge is up, one person watching the way back until the end.
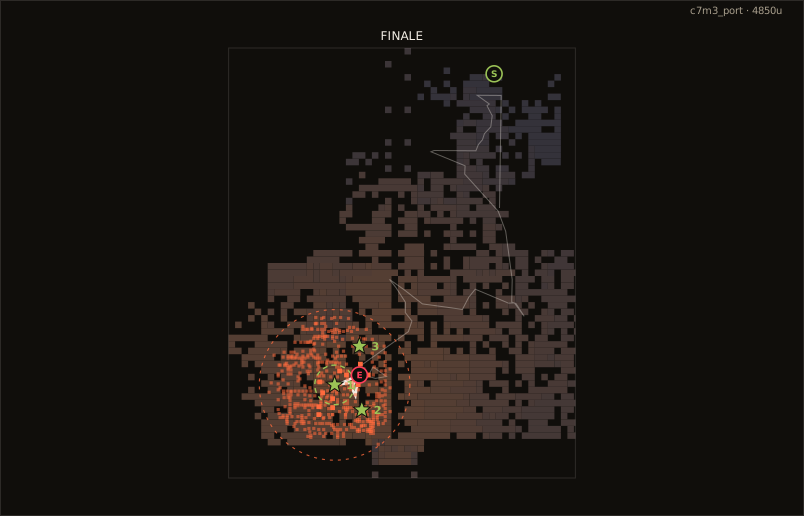
Decide who goes down to restart it before you leave the saferoom, and ideally pick whoever carries the most throwables and has the best health — they will be on their own for a dozen or more seconds. Spell out the other three roles too: one watches the person below, the other two hold each end of the bridge deck.
Open this chapter in the spawn visualizer
Explore this chapter interactively: drag survivors, scrub progress, and spawn waves in the live simulator
How to last through two extra-long chapters in a row
The difficulty of The Sacrifice is not any single spot but that c7m1 runs 29,000 units and c7m2 runs 32,000 — two extended chapters back to back. Many teams die mid-c7m2 because they already burned through their supplies in c7m1 and the saferoom in between did not replace them.
- Plan the two chapters as one:You should still be carrying something when you reach the c7m1 saferoom. Walking in empty means you already overspent on the first chapter.
- Do not get greedy in the railcar section:The rail yard in c7m1 looks full of corners worth clearing, but stopping to sweep one costs you an extra wave or two.
- The barge is the watershed:On c7m2, both banks sit above you at the barge crossing — the most expensive stretch of the chapter. Save a gas can for it.
- The last chapter is not about progress:c7m3 is a pure event chapter — everything you saved earlier should go here.
A rough checkpoint: entering c7m2 the team should hold at least two medkits and three throwables. If not, slow the pace through the first half of c7m2 instead of hurrying on.