Cold Stream Anne co-op: four chapters of creek
Mountain terrain with wild sight-line swings and two chapters past twenty-four thousand units. The Nav is rough; checking the spawn spread yourself beats memorizing guides.
Learn the pace before the route
At a normal Anne co-op pace, you cover roughly 3% to 5% of the flow between waves. Treat a chapter as 100%: door to saferoom costs 20 to 30 waves.
Each chapter below is split by flow percentage. To see the spawns for a stretch, click the link at the end of that chapter. The visualizer loads the map and places the whole team at that progress.
c13m1 Alpine Creek: a short warmup
Thirteen thousand units, the shortest push in Cold Stream. Both slopes of the valley sit in the Hunter band, so walking the creek bed means assuming something is overhead. Water is slow. Whoever falls into the creek calls it out instead of quietly chasing the team.
- Hold spots
- Clear waves in dead corners against the canyon walls and assume something is overhead; never linger in the water.
- Segment plan
- No lull anywhere: the 0–30% opening is already the density peak (nearly half the bank-slope spots are high), so budget 15 waves even for a short chapter. Walk the stream steadily through the middle. The last 30% eases off, but a high-point patch remains on the 70–80% cliffs.
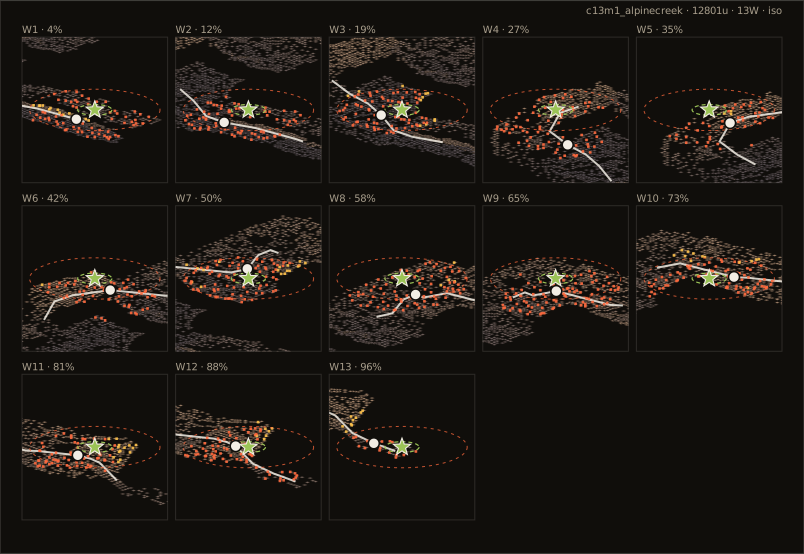
Open this chapter in the spawn visualizer
Explore this chapter interactively: drag survivors, scrub progress, and spawn waves in the live simulator
c13m2 South Pine Stream: a twenty-five-thousand-unit endurance test
The longest chapter in Cold Stream. Stock for 25 waves and up. The mid-chapter creek walk grinds hardest: the water slows you, high ground flanks both banks, and one burst of speed from the lead snaps the line. This chapter is not about aim. It is whether four people can hold spacing for twenty-plus waves.
- Hold spots
- Regroup and clear waves on the high platforms along the stream; if someone drops in the water, drag them ashore before reviving.
- Segment plan
- First 40% (~10 waves): 20–40% is already the chapter peak — expect no warm-up. Middle (~9 waves): high points crowd the stream at 50–70%, never stop in the water. Last 20% (~6 waves): density plunges; holding the rear steady is the win.
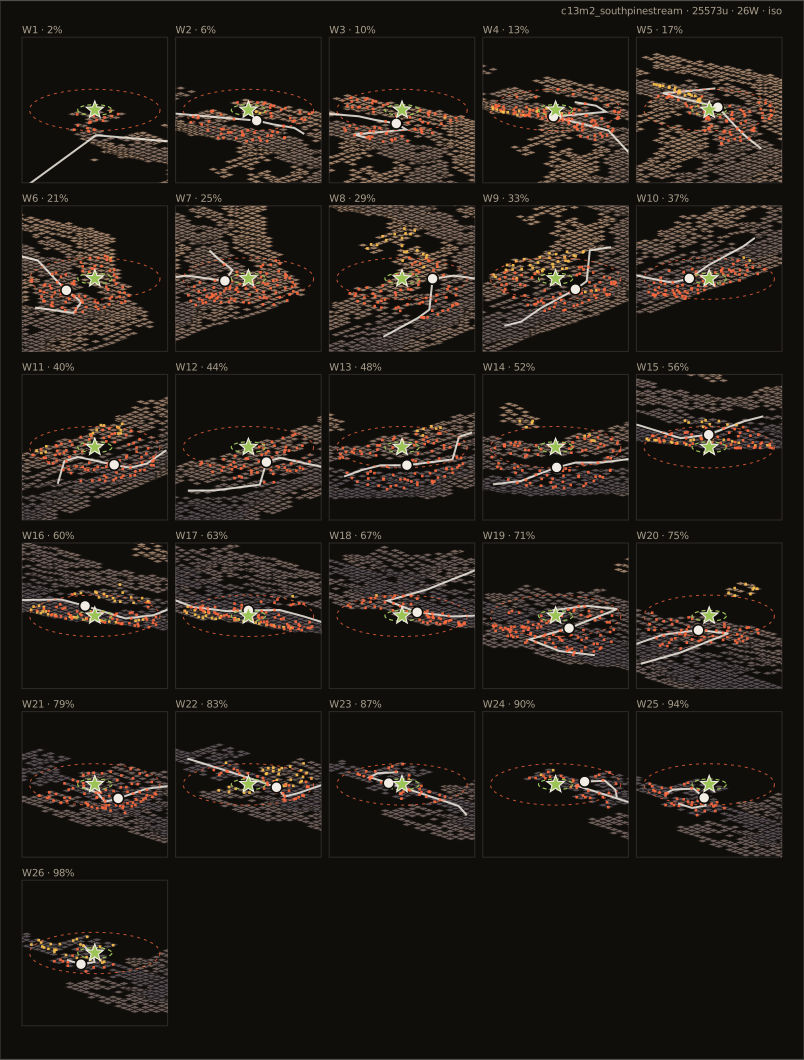
Open this chapter in the spawn visualizer
Explore this chapter interactively: drag survivors, scrub progress, and spawn waves in the live simulator
c13m3 Memorial Bridge: single file on the deck
After the bridge event the deck is essentially single file, the same logic as the Swamp Fever planks: tight spacing, full stop on a down, and the last player is the Hunter and Jockey target. Top off before the crossing and do not stop on the deck.
- Hold spots
- Top everyone off at the bridgehead before crossing; never stop on the span, and clear the far landing before dropping down.
- Segment plan
- Early (~9 waves): normal push, save supplies. Before the bridge (~8 waves): the bridgehead at 70–80% is the chapter density peak — empty it before stepping on. Crossing (~7 waves): single file on the span without stopping, clear the far side before dropping.
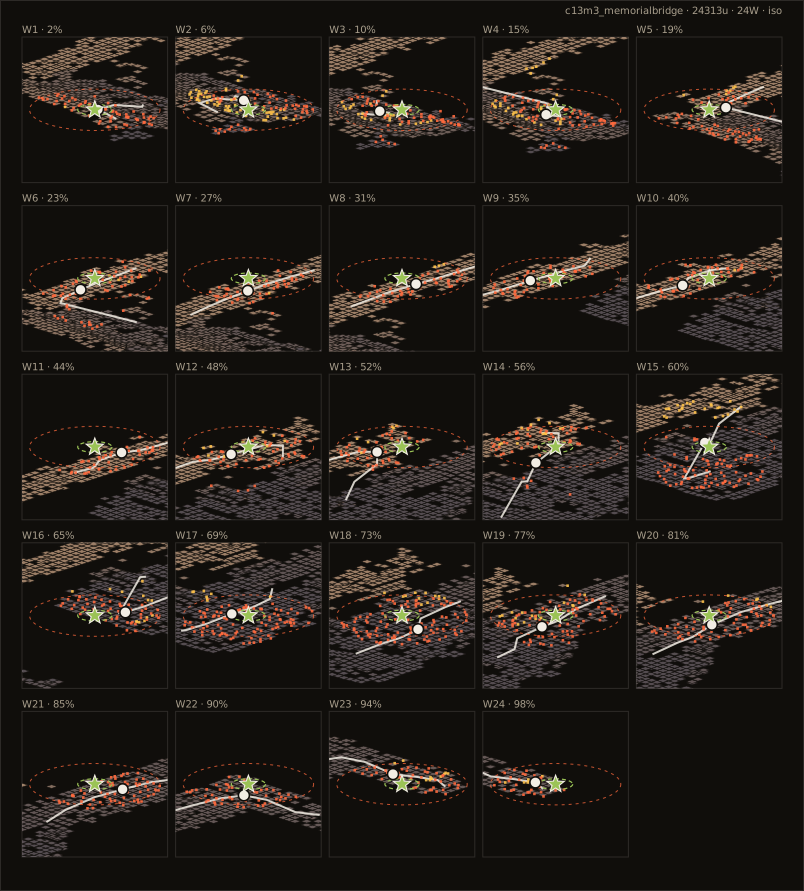
Open this chapter in the spawn visualizer
Explore this chapter interactively: drag survivors, scrub progress, and spawn waves in the live simulator
c13m4 Cut-throat Creek: the last stretch is uphill
A twenty-four-thousand-unit closer ending at the military truck. The final climb is where teams sag after 90%: the rear breaks at the bottom of the slope while the front can already see the truck. Climb together. Seeing the truck is not being in the truck.
- Hold spots
- On the final climb regroup against the hillside to clear waves; seeing the truck is not being in the truck — the whole team climbs together.
- Segment plan
- First 30% (~8 waves): cliff high points crowd 30–40%, look up from the valley floor. Middle (~8 waves): another high-point peak at 60–70%, pass it regrouped. Last 30% (~8 waves): climb the final slope as one team — seeing the truck is not being in it.
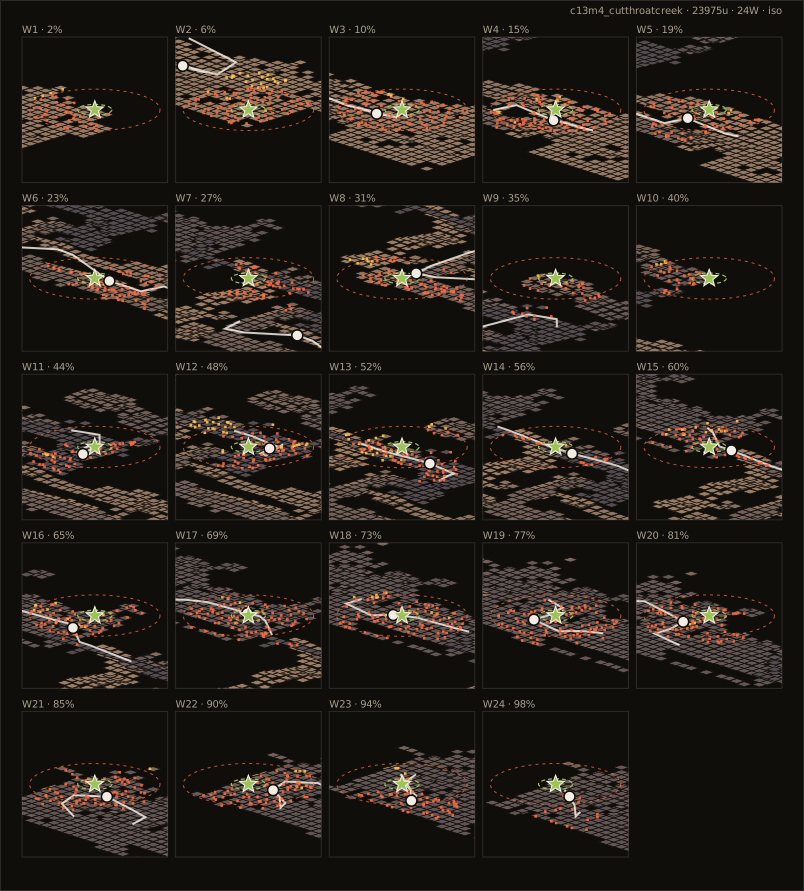
Open this chapter in the spawn visualizer
Explore this chapter interactively: drag survivors, scrub progress, and spawn waves in the live simulator
Water: this map's own variable
Three of Cold Stream's four chapters put you in water, and water matters far more in AnneHappy than in vanilla. Once you slow down, both the grouping check and the progress check are affected at once — the front reaches the bank while the back is still wading, and the spread blows past its limit.
- Do not stop in the water:Going down in water is nearly unrecoverable: the person reviving is slowed too and there is no cover. If you need to stop, get on land.
- Cross water together:Whoever reaches the bank first takes a step and waits instead of walking on. That one step prevents most wipes here.
- Shoot the tongue if you are pulled into water:Do not chase the Smoker — you will not catch it in water.
- Drag anyone down in water onto land first:Reviving on the bank is far safer than reviving where they fell.
The other feature of a ravine is that both banks are above you. Walking the valley floor means assuming something is overhead — not as a figure of speech but as a direct consequence of the spawn rules: the high-ground discount makes it easier for Smokers and Hunters to enter from above. Look up more often on this map than on any other.