Dark Carnival Anne Co-op: Highway to Concert
Alarmed cars on the highway, the carousel alarm, the coaster alarm run, barn high ground, the concert finale.
c2 in Anne co-op
Online guides tell you where the guns are. In Anne co-op the hard part is how densely this campaign packs alarm events — alarmed cars, the carousel, the coaster, the concert — each forcing you to move inside the wave rhythm.
Boomer 250 to 550. Smoker minimum 500. Hunter 350 to 950, which covers canopy roofs and the track.
c2 chapters run longer than c1. At 3% to 5% per wave, budget twenty to thirty waves per chapter; during alarm stretches Flow barely moves, so those waves are eaten head-on. Drag the progress in the visualizer to see legal spawns for each stretch.
Open this chapter in the spawn visualizer
Explore this chapter interactively: drag survivors, scrub progress, and spawn waves in the live simulator
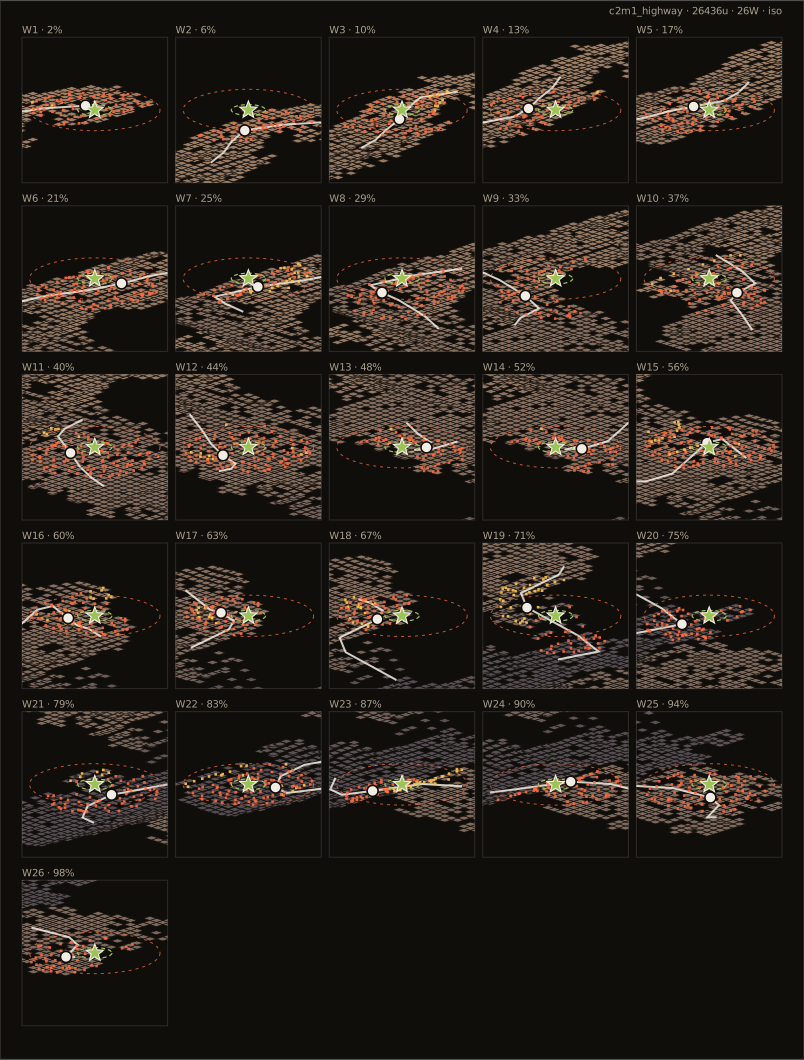
c2m1 Highway and motel: learn the alarmed cars first
The highway is packed with wrecks, and a few of them are alarmed — one stray burst brings a full horde. The lead calls them out and routes around them, and everyone controls their line of fire during SI fights so it never sweeps a car.
Four abreast easily passes 800 spread — lead hugs one guardrail, rear stays back on the other side. Motel rooms sit door to door, fully inside Boomer's 250 to 550 band; do not open a whole floor of doors at once.
The slide behind the motel costs health. Go down one at a time; whoever lands first steadies up and watches both sides before the next slides.
- Wave budget
- Around twenty waves. The highway stretch is open and quick — do not eat extra waves looting cars.
- Hold spots
- Single-door rooms on the motel's second floor are the steadiest wave holds; regroup at the top of the slide instead of fighting on the way down.
- Segment plan
- First 30% (~6 waves): learn the alarmed cars on the highway and route around them. Middle (~8 waves): the motel at 30–50% is the chapter density peak with many second-floor high points — half the team watches upstairs. Last 40% (~6 waves): regroup before the slide; another dense pocket sits at 80–90% near the saferoom.
c2m2 Fairgrounds and carousel: do not stop while the alarm rings
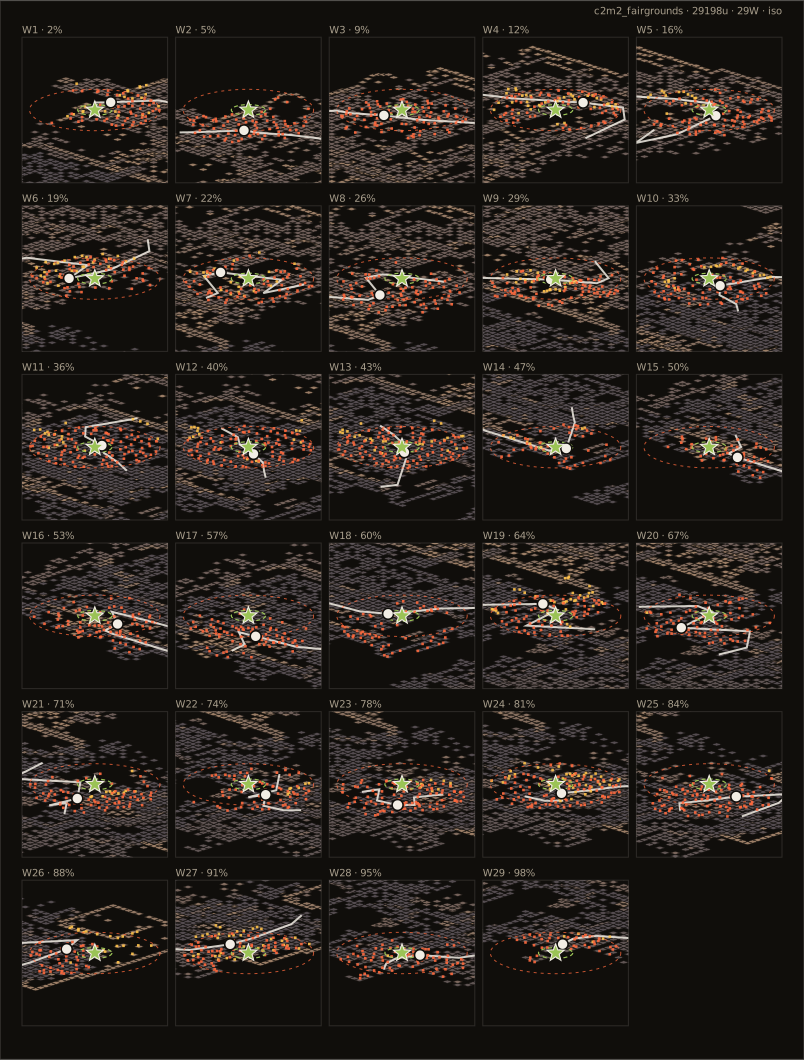
Canopies and stalls create many spots more than 32 units above eye level. Smoker gets a high-ground cut. Call direction when grabbed. Cutting the tongue is faster than chasing the body.
The carousel is this chapter's alarm stretch: the button opens the gate and starts the noise, and the off switch is across the whole kiddie land. Top everyone off and stack at the gate before pressing; run two in front, two behind, and never stop mid-fence to heal — while the alarm rings the horde never stops.
- Wave budget
- Around twenty waves; horde is nonstop through the carousel alarm, so clear up at the far end after the run.
- Hold spots
- The fence corner by the off switch is the post-alarm rally point; for regular waves back into dead corners behind stall walls instead of standing mid-walkway.
- Segment plan
- First 40% (~8 waves): steady push from the gates through the stalls, spread under control. Middle (~7 waves): stall roofs peak in high points around 40–50%, so the tongue-cutter watches high ground. Late (~7 waves): clear the scattered 60–70% spawns before pressing the carousel button.
Open this chapter in the spawn visualizer
Explore this chapter interactively: drag survivors, scrub progress, and spawn waves in the live simulator
c2m3 Tunnel of Love and the coaster: the longest alarm run on the map
The Tunnel of Love is dark and full of forks — do not split up to scout. Tunnels spawn vertically along your line; rear watches the last one in, and if a Jockey drags someone into a fork, everyone stops.
The coaster alarm only stops after you run the full track. It is narrow, and a high-tier Charger's 280 charge will not miss along the rails — open a little front-to-back spacing but never lose contact. If someone goes down on the track, the whole team stops, clears, then revives; do not send half to the switch while half turns back.
- Wave budget
- Twenty-plus waves; one down during the coaster run is very hard to rescue, so top everyone off before starting.
- Hold spots
- The maintenance platform at the off switch backs onto the water and has a single approach; clear stragglers there before dropping off the track.
- Segment plan
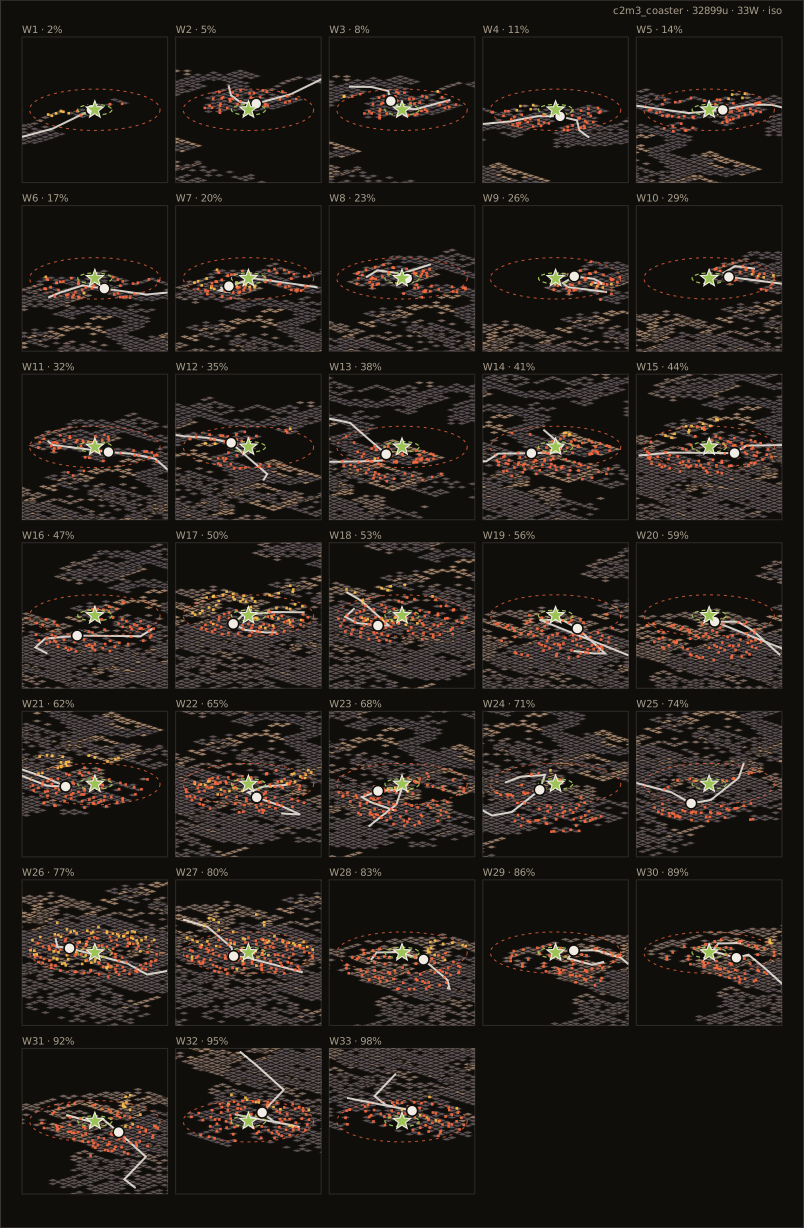
- First 40% (~9 waves): steady through the Tunnel of Love, no splitting at forks. Middle (~9 waves): the coaster track zone at 50–70% is the map-wide density peak — empty the area before the alarm run. Last 30% (~7 waves): high points stay dense at 70–80% after the track, so finish the hold at the maintenance platform first.
Open this chapter in the spawn visualizer
Explore this chapter interactively: drag survivors, scrub progress, and spawn waves in the live simulator
c2m4 Barns: Hunter on the roof
You walk the yard, it sits a roof or silo rim. Long Nav detour, straight line still outside the 250 hard exclusion. Treat corners as occupied.
A short chapter that tempts you to speed up. The narrow gate into the stadium is the choke — regroup before passing, and do not leave the rear alone on the barn side.
- Wave budget
- Short chapter, about fifteen waves; do not speed up and drop the rear just because the stadium is close.
- Hold spots
- Clear waves in barn corners with hay at your back; regroup once at the narrow stadium gate before passing.
- Segment plan
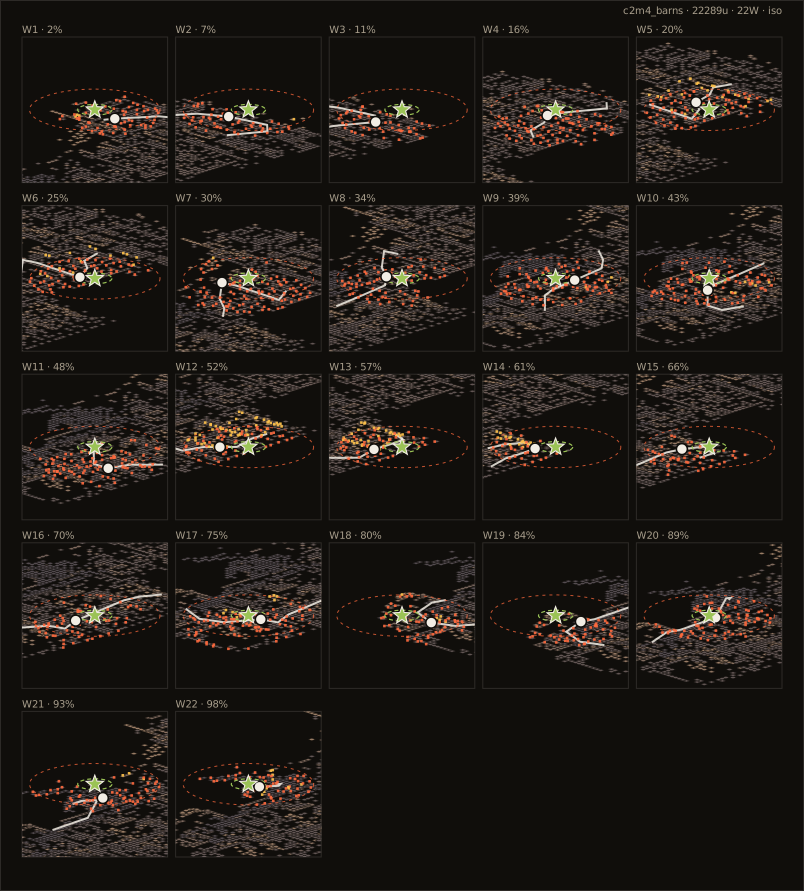
- First 40% (~6 waves): the approach is calm, do not speed up. Middle (~6 waves): barn roofs at 40–60% are packed with high points — the main fight of the chapter, hug the walls. Last 30% (~5 waves): regroup at the narrow stadium gate and top off ammo.
Open this chapter in the spawn visualizer
Explore this chapter interactively: drag survivors, scrub progress, and spawn waves in the live simulator
c2m5 Concert: the finale is three jobs
Before starting, move the supplies on and around the stage to your hold and agree who takes the oil. Once the lights go on, waves come on finale rhythm: a healthy huddle standing mid-stage hits the unlimited hold at the deadline, so stagger behind the speakers and on both stage wings.
Tanks arrive in the middle of the grounds — kite them with the stage, the speakers, and the height changes, and keep oil and molotovs for them. While a Tank lives, do not rush revives; pull it away from the downed player first.
The helicopter loads from behind the stage. Move the last stretch as one team, and the rear guard must not linger to fight.
- Wave budget
- Finale waves rotate on a script and ignore Flow; expect at least two Tanks and keep all oil and molotovs for them.
- Hold spots
- Behind the speakers and on both stage wings are the standard holds; relocate together, and nobody holds the stage front alone.
- Segment plan
- Setup: while hauling supplies the 0–40% high points are all lit (stands and scaffolds), so nobody runs the perimeter alone. Rotation: stagger behind the speakers and stage wings; later waves come more from mid-field. Escape: when the helicopter arrives, board together from behind the stage without turning back.
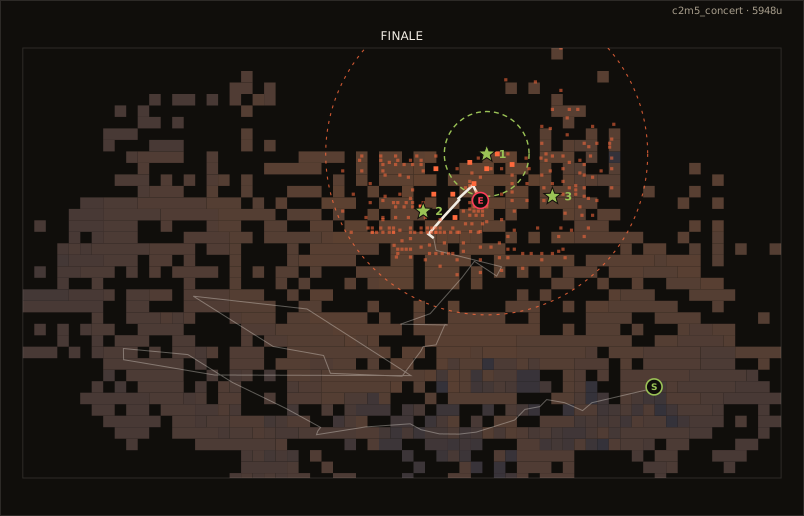
Open this chapter in the spawn visualizer