Death Toll Anne co-op: culverts, the church, and the boathouse
Single-file drains, the church bell hold, main street spread, and an open boathouse finale.
Learn the pace before the route
At a normal Anne co-op pace, you cover roughly 3% to 5% of the flow between waves. Treat a chapter as 100%: door to saferoom costs 20 to 30 waves.
To check spawns for a stretch, click the visualizer link at the end of each chapter — the map loads with the whole team placed at that progress. Before a hold, drag the progress to that stretch and check the legal spawn points first.
c10m1 Turnpike: the narrow way past the collapse
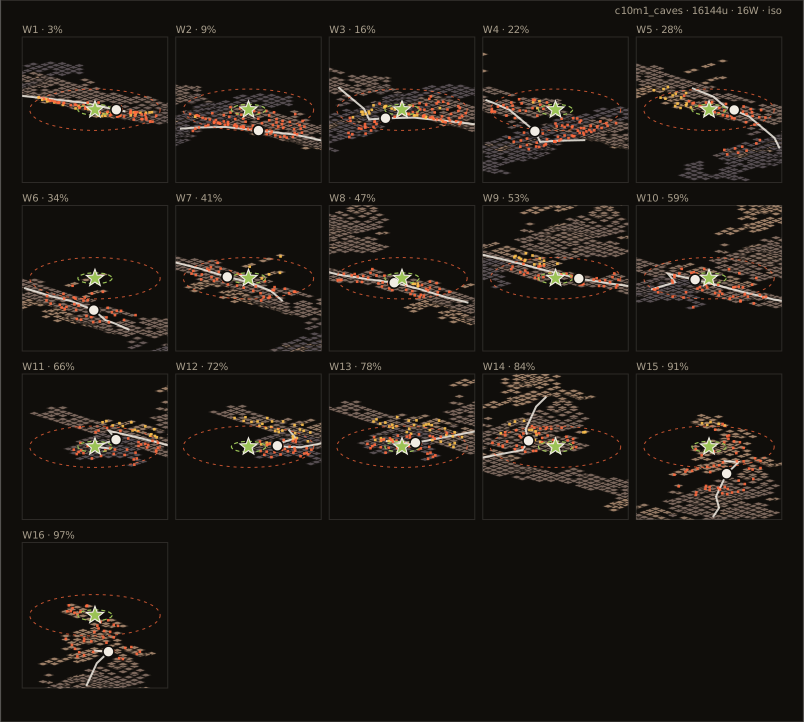
The highway is down, so you detour along culverts and the hillside. Culverts spawn along their length. Things come from ahead and behind. Tighten spacing inside and keep the rear on the mouth.
The rocky high spots on the slope sit inside the Hunter 350-to-950 preferred band. On open stretches, listen for the pounce shriek in the wind.
- Wave budget
- Around twenty waves; tighten spacing through the culverts and take them slow — do not eat a wave inside.
- Hold spots
- Hold culvert mouths with the wall at your back and a single approach; on the slopes clear waves against the rocks.
- Segment plan
- Opening (~6 waves): the 0–20% hillside is spiked with rock high points — the first waves are the worst. Middle (~7 waves): the culvert zone is calm, tighten up and take it slow. Last 30% (~6 waves): high points return at 70–80%, look up as you exit the tunnels.
Open this chapter in the spawn visualizer
Explore this chapter interactively: drag survivors, scrub progress, and spawn waves in the live simulator
c10m2 Drains: two on a ladder, no more
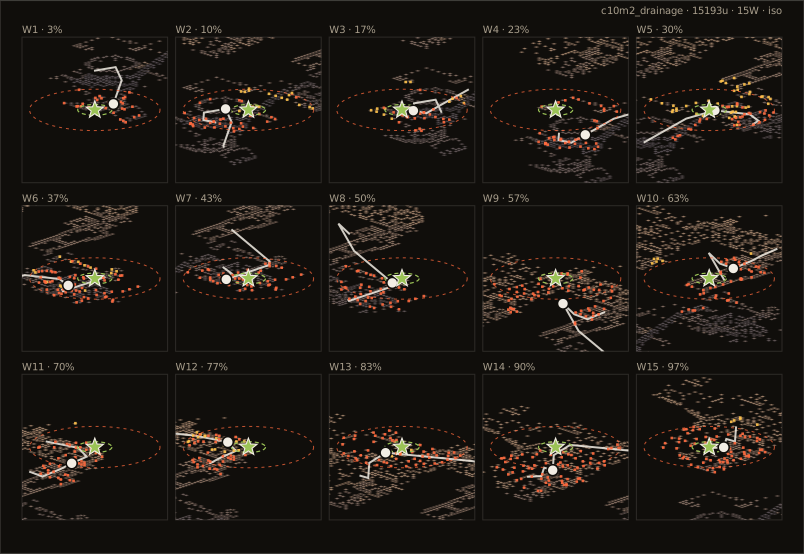
The underground pipes are narrow with dense corners, and the Boomer 250-to-550 band hugs you the whole way. Treat every door and corner as occupied.
No more than two on a ladder at a time. The rest watch both ends of the corridor. At the manhole, check both directions before people climb. Do not feed players out one by one.
- Wave budget
- Around twenty waves; progress is slow in the pipes, so stock ammo before going underground.
- Hold spots
- Hold the right-angle corners at pipe junctions with two watching both ways; clear the manhole exit before anyone climbs.
- Segment plan
- First 40% (~8 waves): the pipe junctions at 20–40% are the densest — hold the right-angle corners firmly. Middle (~5 waves): density falls, speed up. Last 30% (~6 waves): the drainage exit at 60–70% is dense again, clear the manhole before climbing.
Open this chapter in the spawn visualizer
Explore this chapter interactively: drag survivors, scrub progress, and spawn waves in the live simulator
c10m3 Church: the bell means a hold
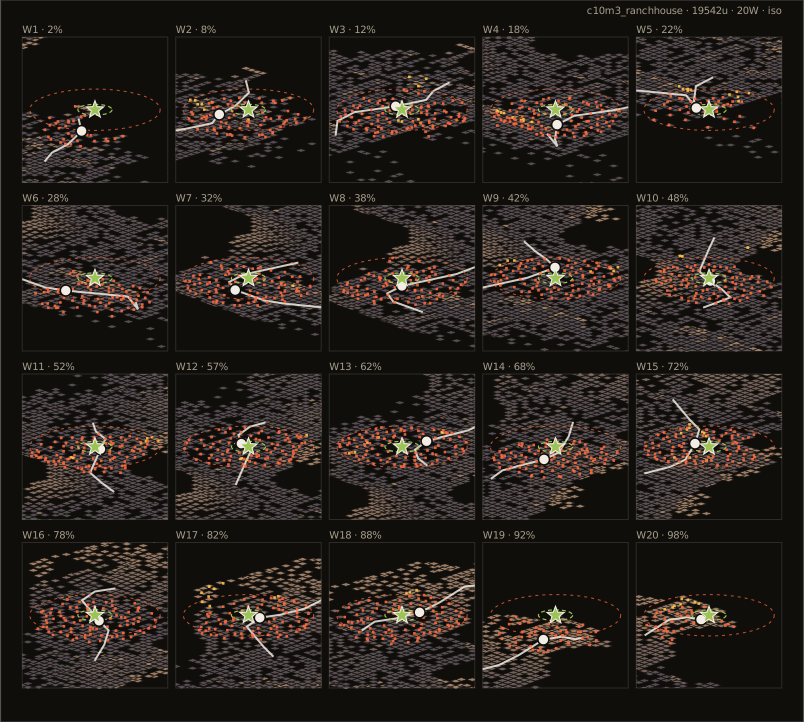
Getting into the saferoom means ringing the bell, and the bell pulls waves. This is a standard hold: a healthy clump standing still enters an uncapped hold at the deadline, and the wave drops the moment you move. Stagger among the gravestones and wall corners. Do not stack four at the doorway.
The bell tower itself is Smoker high ground. Hold off the tower's direct line. If someone is pulled, cut the tongue first.
- Wave budget
- Around twenty waves; waves chain after the bell rings, so top off health and ammo before ringing.
- Hold spots
- Stagger between headstones and wall corners, stay out of the bell tower's direct line, and do not pack four people at the saferoom door.
- Segment plan
- Early (~7 waves): density is even throughout, push at a fixed rhythm. Middle (~7 waves): save supplies, do not spend them on the road. Bell phase (~6 waves): waves chain after the bell — hold staggered among the headstones until the saferoom opens.
Open this chapter in the spawn visualizer
Explore this chapter interactively: drag survivors, scrub progress, and spawn waves in the live simulator
c10m4 Town: do not walk main street abreast
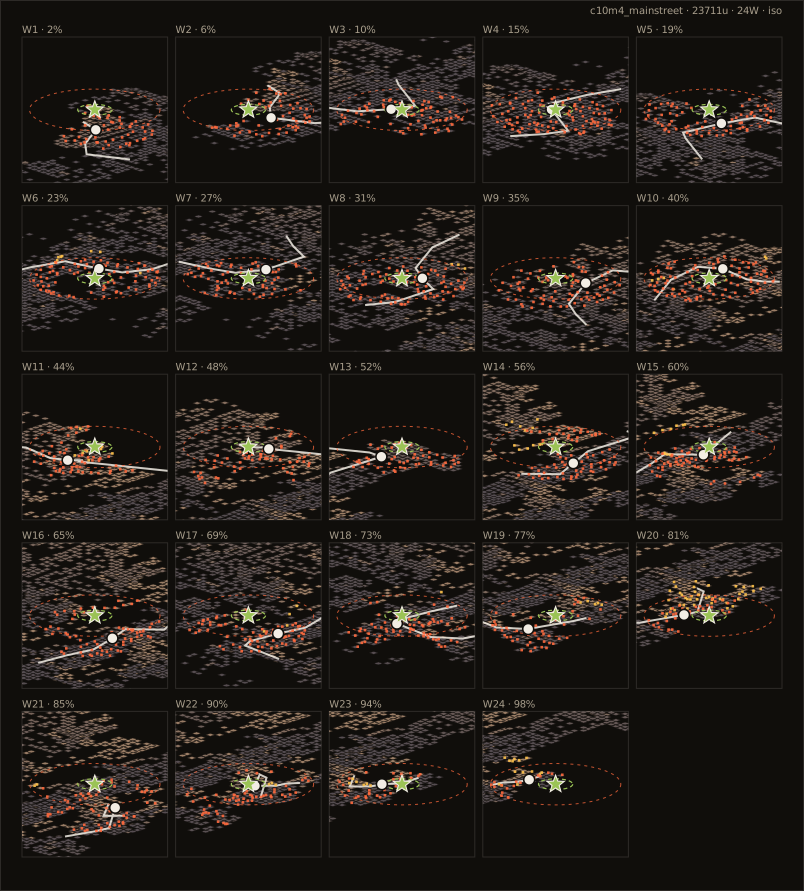
The main street is wide enough that four abreast passes 800 spread. Lead hugs one storefront line, rear stays back on the other side — the same walk as the Dead Center street.
Loot the shops in pairs. If someone goes inside, the people on the street do not keep walking.
- Wave budget
- Around twenty waves; do not linger looting buildings — waves keep coming while progress sits still.
- Hold spots
- Clear waves in single-entrance storefronts on both sides, search buildings in pairs, and whoever is on the street does not push ahead.
- Segment plan
- Opening (~6 waves): a dense band at 10–20% as you enter town. Middle (~7 waves): the high-point ratio rises at 40–50% (second-floor windows), walk the main street diagonally. Last 30% (~7 waves): 80–90% is dense at the finish — search the last row of shops and go in.
Open this chapter in the spawn visualizer
Explore this chapter interactively: drag survivors, scrub progress, and spawn waves in the live simulator
c10m5 Boathouse finale: the grass slope and the waterline
The boathouse sits on an open grass slope against the waterline, and attacks come from every side. Two watch the slope, two watch the water and flanks, rotate together. Sitting motionless inside the boathouse, what you are waiting for is not the boat. It is an uncapped hold.
A Tank on the slope sees everything. Do not kite it on flat ground. Circle the rocks and cabin corners, and keep gas and molotovs for it. When the boat arrives, leave together. Do not let the rear player cover the retreat alone.
- Wave budget
- The finale rotates waves on a script: call the boat by radio and hold until it docks, normally at least two Tanks.
- Hold spots
- Two watch the slope, two stagger toward the water, and relocate together; kite the Tank around rocks and house corners with all the oil saved for it.
- Segment plan
- Push (~7 waves): the first 60% is calm, keep the oil. Setup: the houseboat surroundings at 80–90% are the chapter density peak — sweep the area before the signal. Rotation: two staggered pairs on slope and waterline, and pull Tanks toward the rocks.
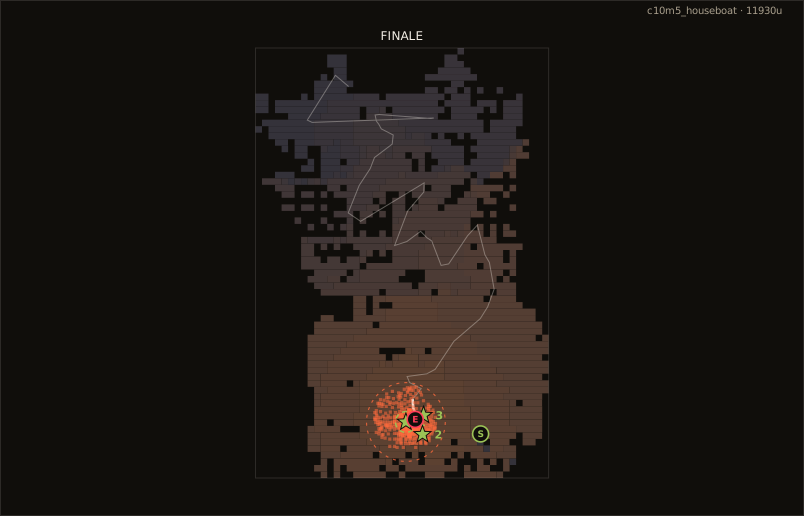
Open this chapter in the spawn visualizer