No Mercy Anne Co-op: Apartments to Rooftop
Subway chokes, sewer elevation, hospital elevator, rooftop Tank. These are where you wipe most often.
Learn the pace before the route
At a normal Anne co-op pace, you cover roughly 3% to 5% of the flow between waves. Treat a chapter as 100%: door to saferoom costs 20 to 30 waves.
To check spawns for a stretch, click the visualizer link at the end of each chapter — the map loads with the whole team placed at that progress. Before a hold, drag the progress to that stretch and check the legal spawn points first.
c8m1 Apartments: one door away is Boomer range
Lots of small rooms. Boomer preferred 250 to 550 covers one door away. Listen before opening, check both sides of the hinge after. Do not pack the team into one bathroom to reload.
Stairwells down are vertical spawn points. Rear watches the last person down. If a Jockey pulls someone from a corner, stop immediately.
- Wave budget
- A short chapter, about fifteen waves; do not brawl in the corridors, and keep looting to what is on the way.
- Hold spots
- A just-cleared single-door apartment room with a dead-end corridor at your back; regroup at the stairwell before heading down.
- Segment plan
- First 30% (~4 waves): clear the apartment rooms one by one, never several doors at once. Middle (~5 waves): the stairwell stretch at 30–50% is high-point dense — cross-floor spawns hit hardest here. Last 30% (~4 waves): regroup at the door before the street.
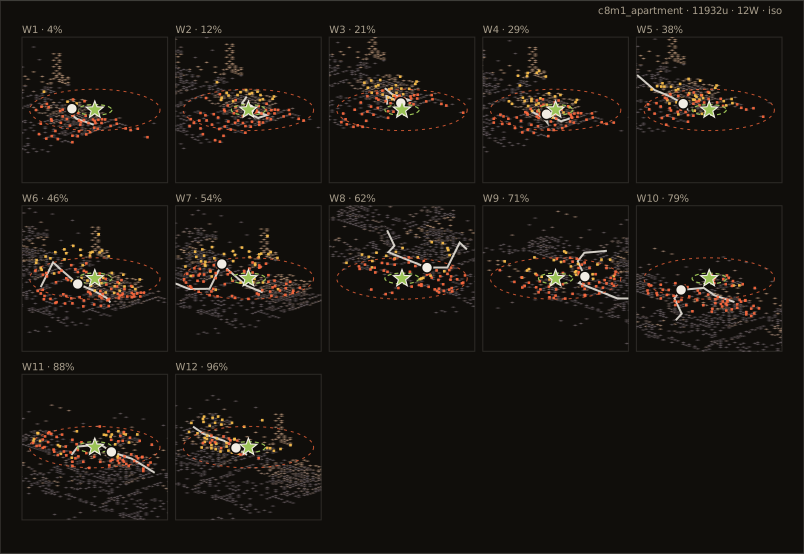
Open this chapter in the spawn visualizer
Explore this chapter interactively: drag survivors, scrub progress, and spawn waves in the live simulator
c8m2 Subway: a Charger line
The tunnel width is a straight Charger line. High-tier charge distance is 280. Hugging the wall will not make it miss. Do not walk the whole tunnel in single file. Stagger into two columns so a downed player can be dragged aside.
Healing in a car keeps spread tiny, so Anti-Bait easily calls a stall. Heal, then step out immediately.
- Wave budget
- Around twenty waves; the tunnel is slow going, so stock ammo on the platform before entering.
- Hold spots
- Clear waves in single-entrance side rooms off the platform, never holed up in a train car — the spread is so small that any stop counts as a grouped stall.
- Segment plan
- First 40% (~7 waves): platform into the tunnel, stock ammo first. Middle (~7 waves): mezzanines and elevated track at 40–60% carry dense high points — look up even underground. Last 30% (~6 waves): the station exit at 60–70% is dense again, clear the street level first.
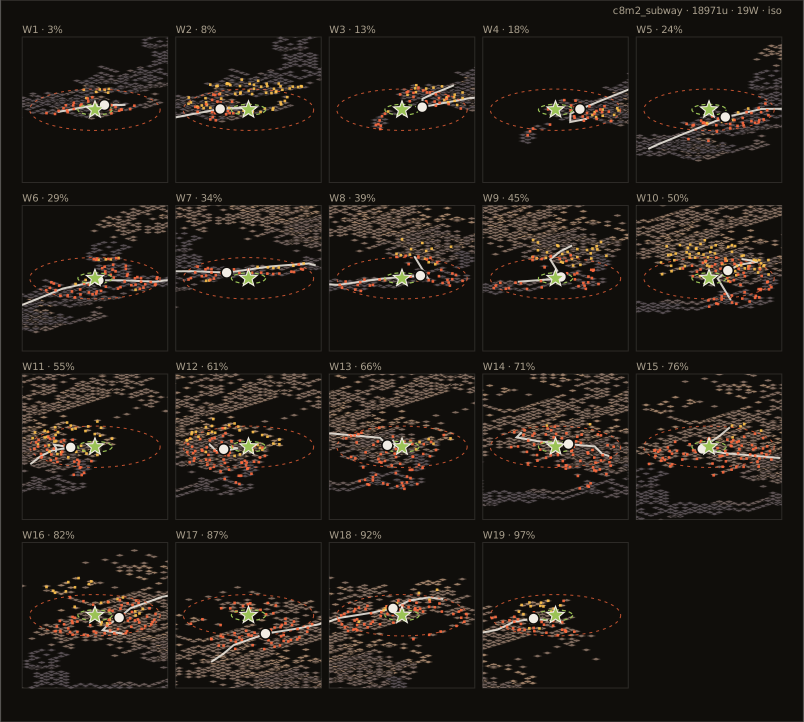
Open this chapter in the spawn visualizer
Explore this chapter interactively: drag survivors, scrub progress, and spawn waves in the live simulator
c8m3 Sewer: look up along the rim
You walk the trench, Hunter sits the rim. Long Nav detour, short straight line, still outside the 250 hard exclusion. Do not only watch the water.
Ladders naturally stretch the team into a line. Clear around before climbing. Two up at a time, the other two watch behind.
- Wave budget
- Around twenty waves; leave two or three extra for the slow sewer stretch.
- Hold spots
- Hold the right-angle corners at pipe junctions with two watching both ways; clear the pipe mouth before climbing any ladder.
- Segment plan
- First 40% (~8 waves): pipes spawn from both ends, heavy work for the rear. Middle (~5 waves): density falls through 50–70%, speed up and win time back. Last 30% (~7 waves): high points spike around the manhole exit at 70–80% (hospital walls) — clear before climbing out.
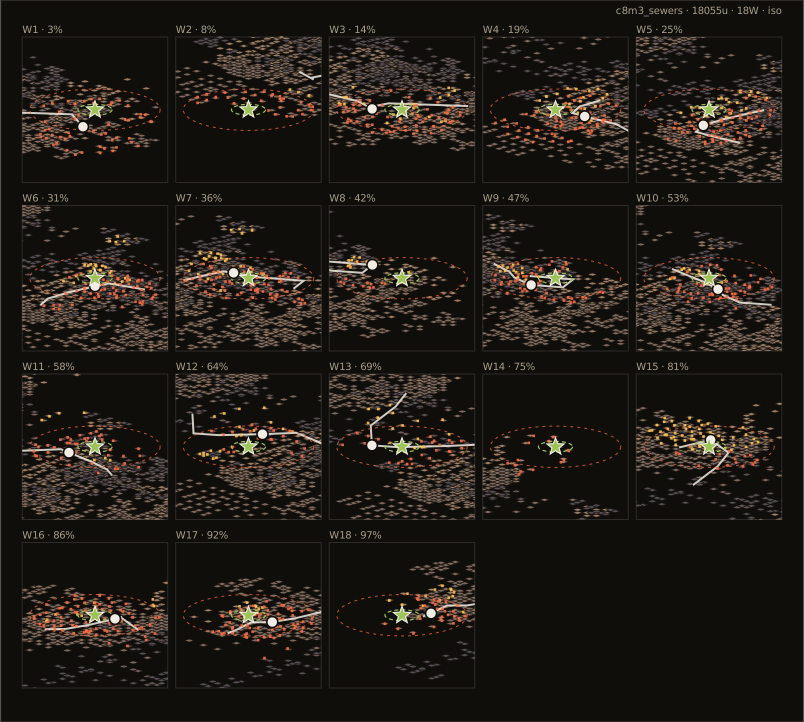
Open this chapter in the spawn visualizer
Explore this chapter interactively: drag survivors, scrub progress, and spawn waves in the live simulator
c8m4 Hospital: the doors opening
Same as the atrium elevator: the doors opening is when a wave most often drops. Stagger while you wait. Check both ends of the hall as you exit.
Wards are full of cubicles. A Smoker tongue can wrap from the next room. Call the direction when grabbed. Cutting the tongue is faster than chasing the body.
- Wave budget
- Fifteen to twenty waves; the ward floors are all corners, so take them steady.
- Hold spots
- Single-door wards are the steadiest wave holds; stagger while waiting for the elevator and check both ends of the corridor before pushing out.
- Segment plan
- Opening (~5 waves): the first two waves inside the hospital are the worst — clear the lobby floors first. Middle (~5 waves): density plunges after 30%, push steadily and fast. Late (~5 waves): the wards spawn thin but corner-heavy; save supplies for the rooftop.
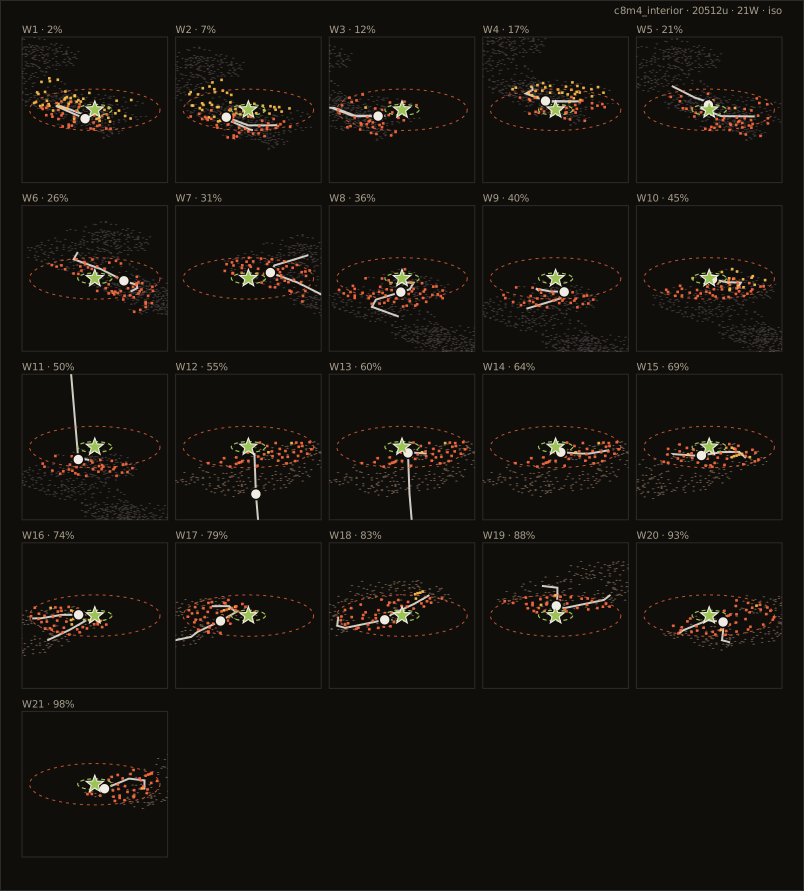
Open this chapter in the spawn visualizer
Explore this chapter interactively: drag survivors, scrub progress, and spawn waves in the live simulator
c8m5 Rooftop: you will not beat a Tank on the flat
The roof is open flat ground. Extreme Tank bunnyhop cap is 1050. Check !tank progress first. Save oil and throwables for it. Do not clump in the middle of the pad after the elevator.
On the helicopter hold, put rear at the stairwell. SI spawn up from inside the building more often than from the roof edge.
- Wave budget
- The finale rotates waves on a script: radio the signal and hold until the helicopter comes, normally at least two Tanks, with every oil and molotov saved for them.
- Hold spots
- Stagger with the elevator machine room at your backs and rear on the stairwell; relocate together — nobody holds the roof edge alone.
- Segment plan
- Setup: the rooftop is ringed by high points throughout (machine room, water tower, scaffolds) — sweep the perimeter before the signal. Rotation: hold the machine-room corner staggered, one person owns the stairwell. Tank: if the flat will not kite, circle the machine room; never back to the roof edge.
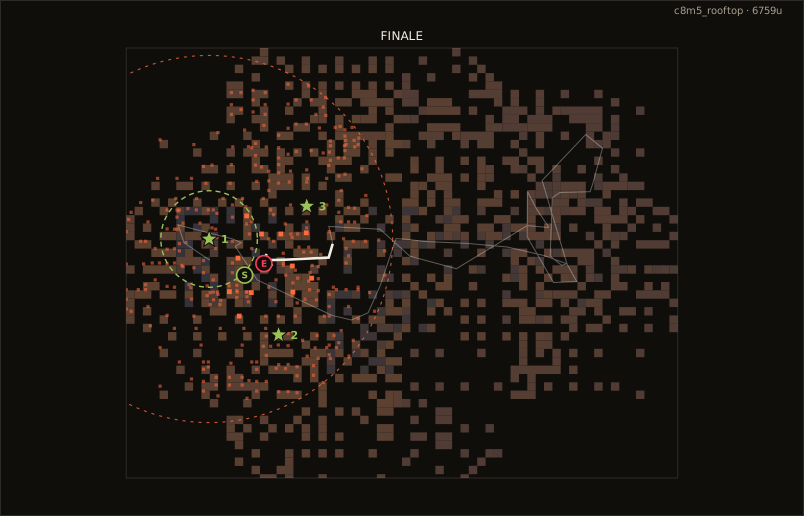
Open this chapter in the spawn visualizer